Part 75: The Final Quest
Update 75: The Final QuestWell, here we are. The final update.
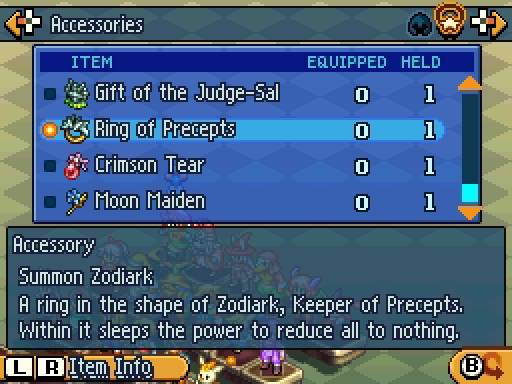
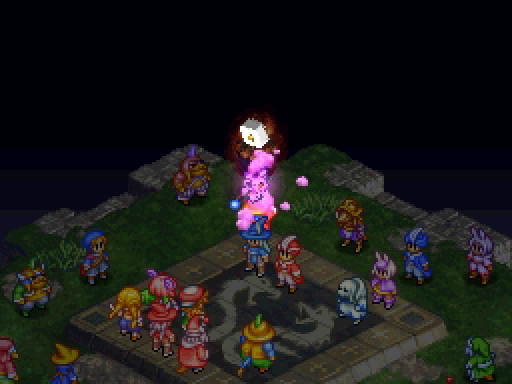
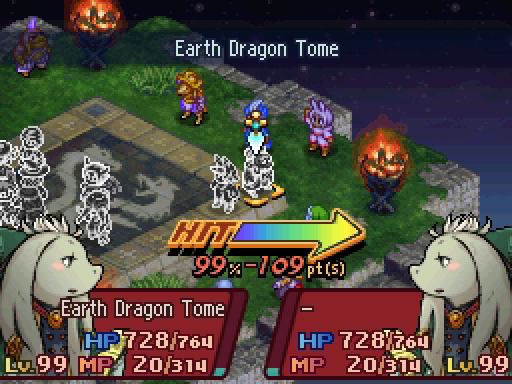
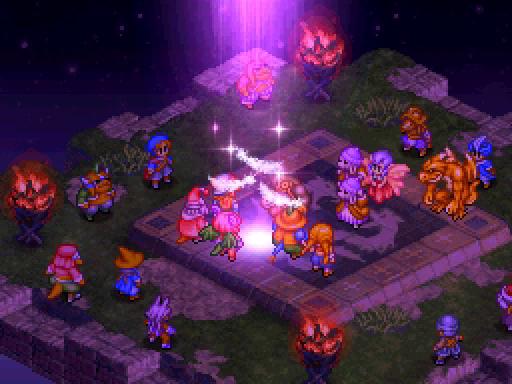
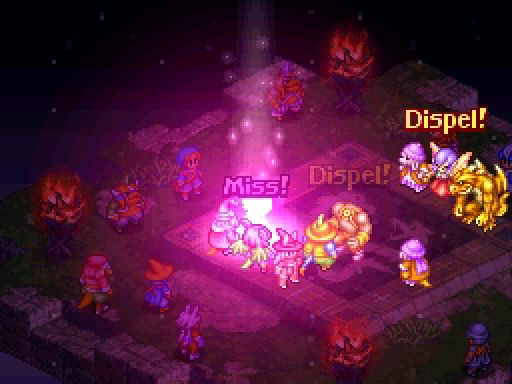
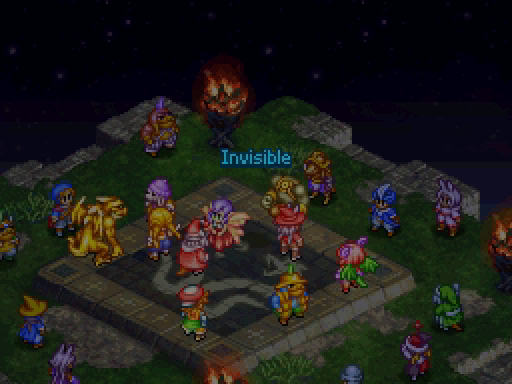
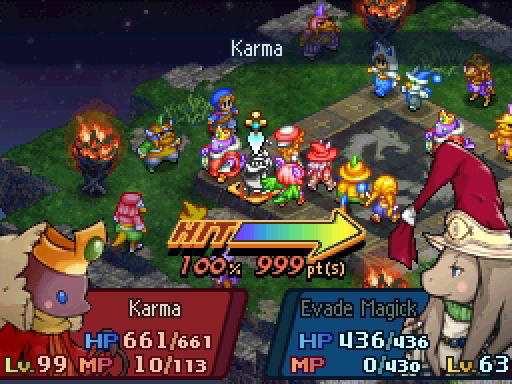
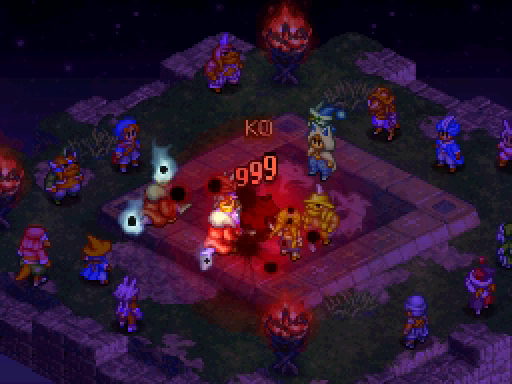
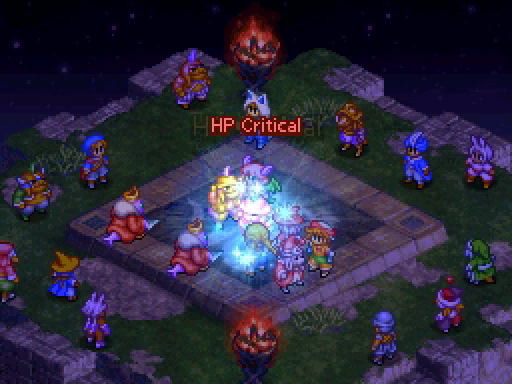
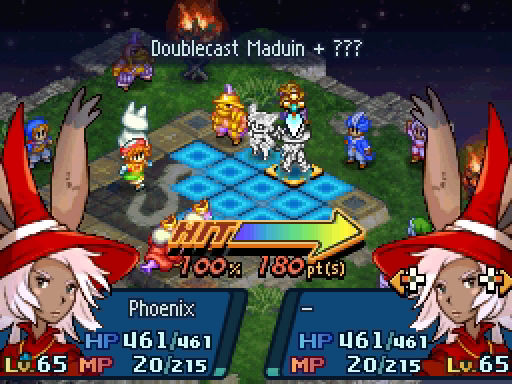
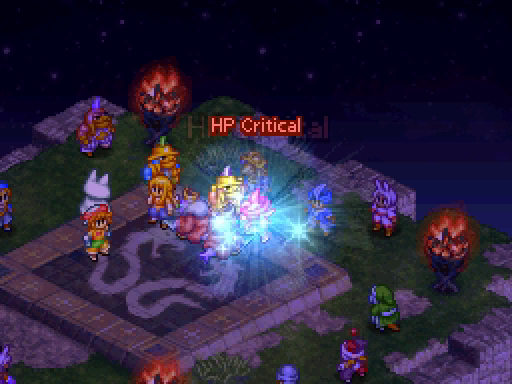
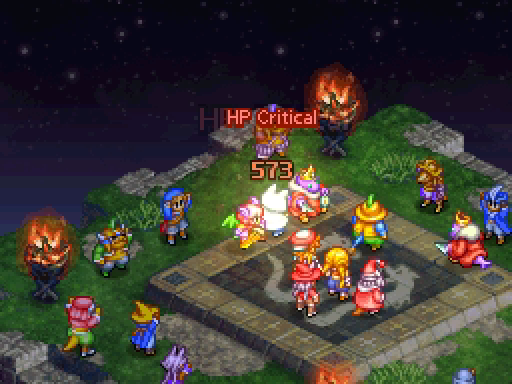
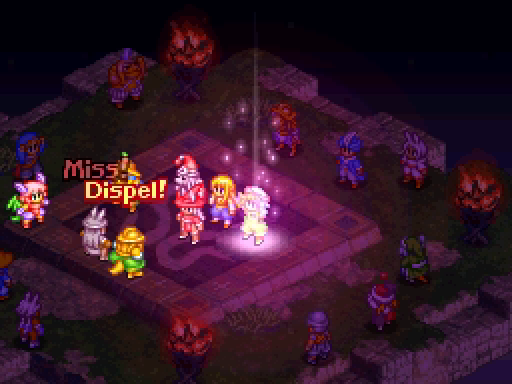
First I need to show you our final Scion-summoning item, the Ring of Precepts.
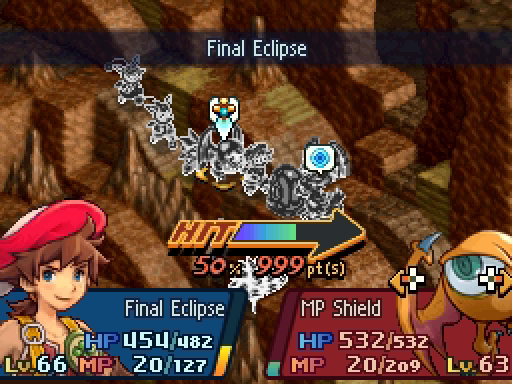
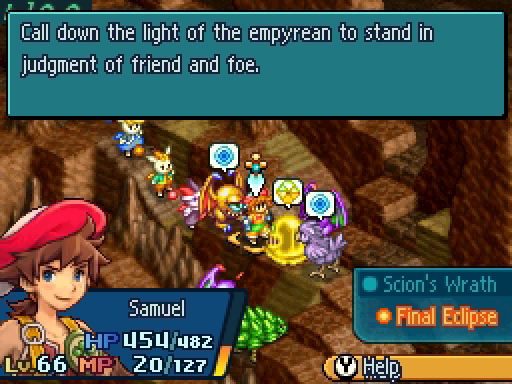
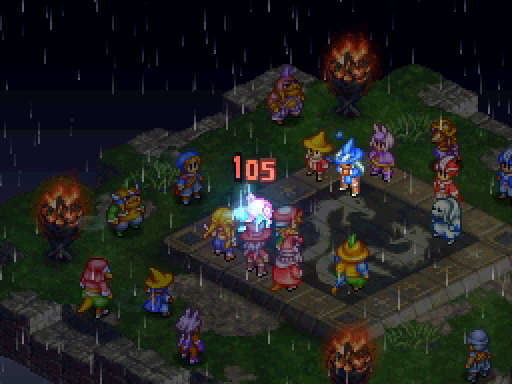
It targets every unit on the field with a ~50% chance to deal 999 damage. Note this will have a 0% chance to hit against bosses.
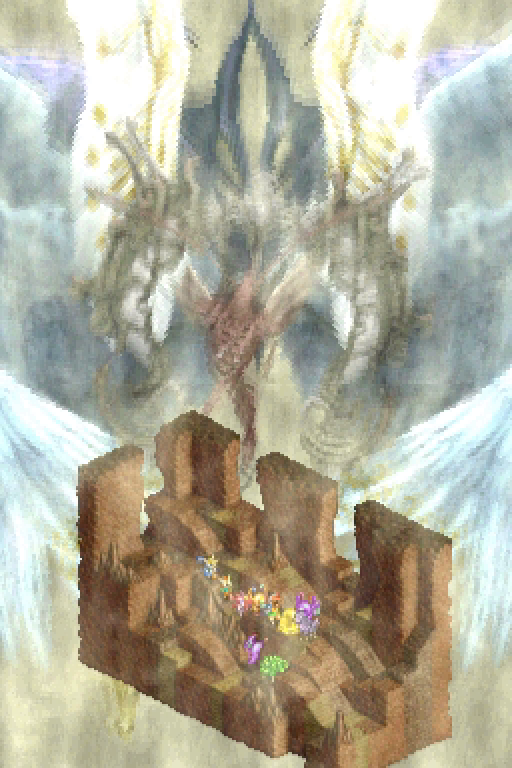
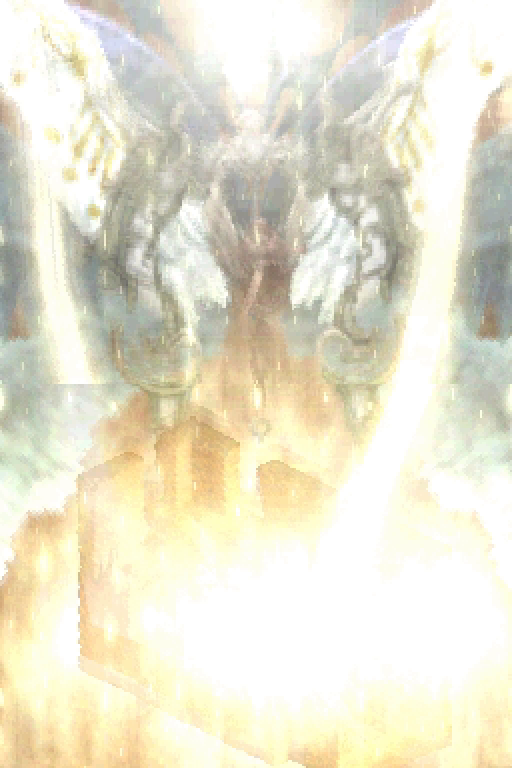
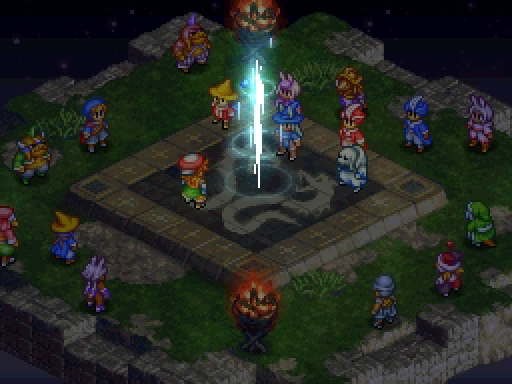
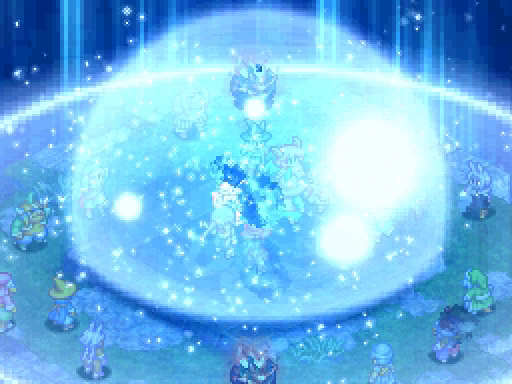
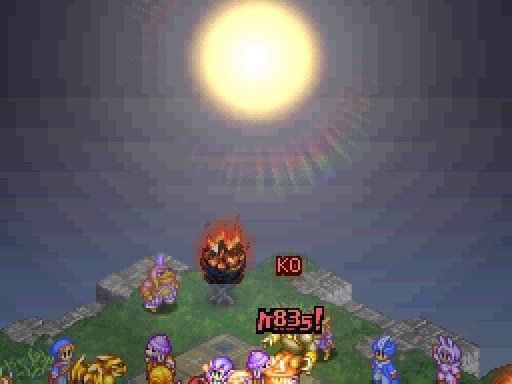
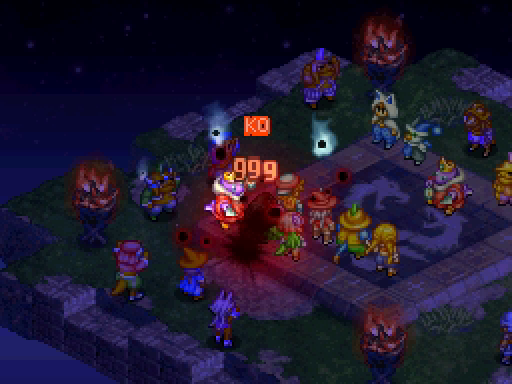
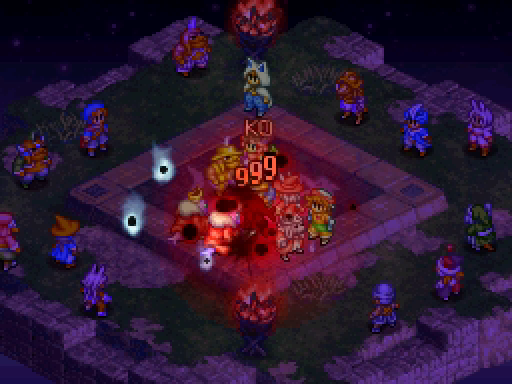
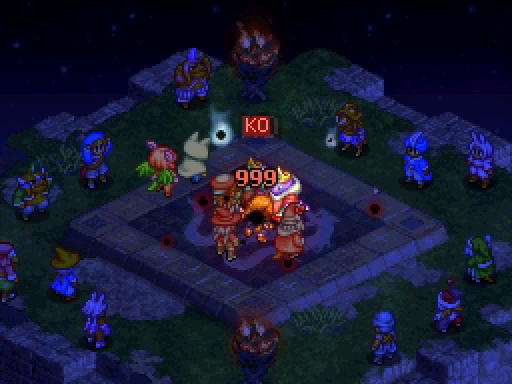
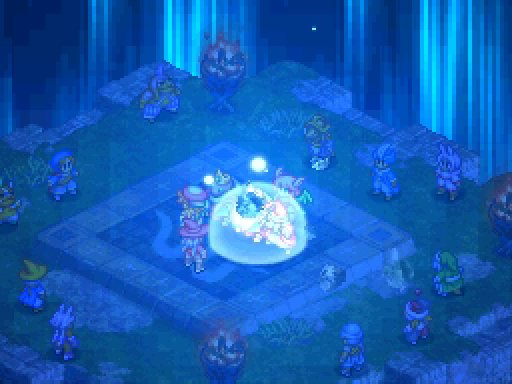
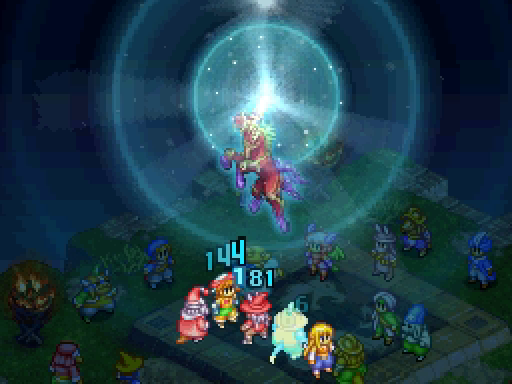
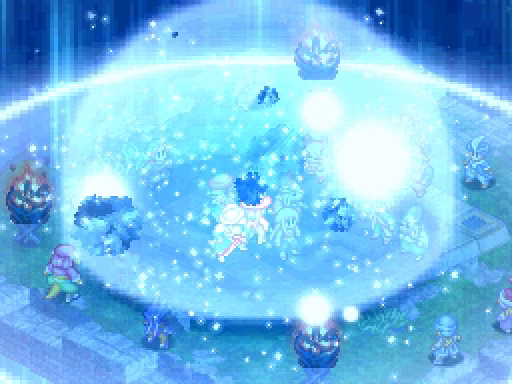
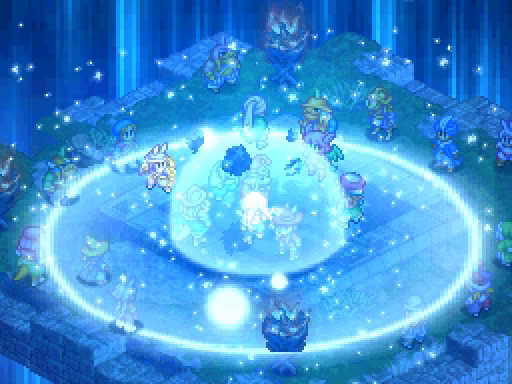
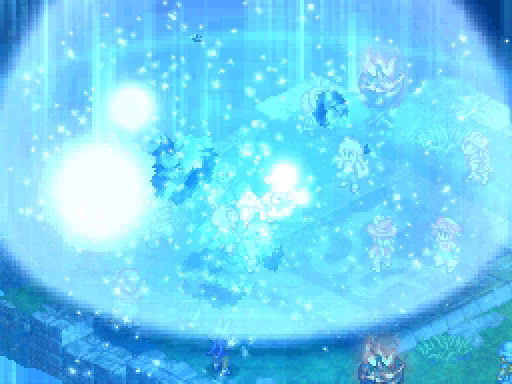
It summons Zodiark, who obliterates the battlefield with spears of light.
Zodiark (from FFXII) posted:
Strongest of the scions created by the gods, they feared his growth, and so kept him a child. So indomitable is his strength that all things are by him twisted and pressed into oblivion. He alone fashions the laws governing all things, and administers punishment in place of the gods. So is he Keeper of Precepts, and his authority is absolute.
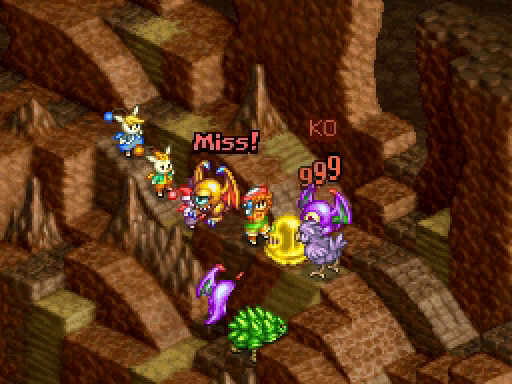
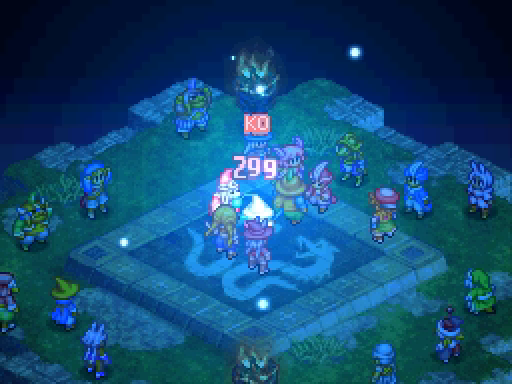
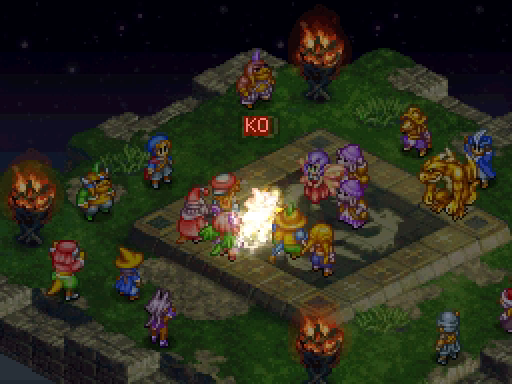
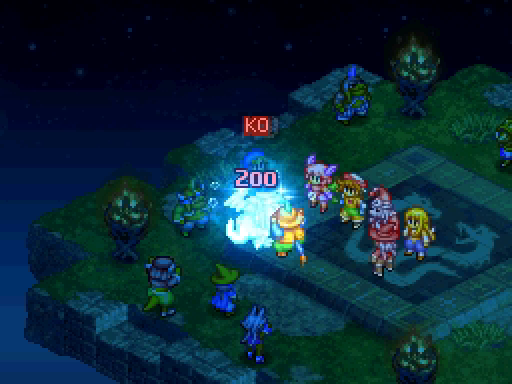
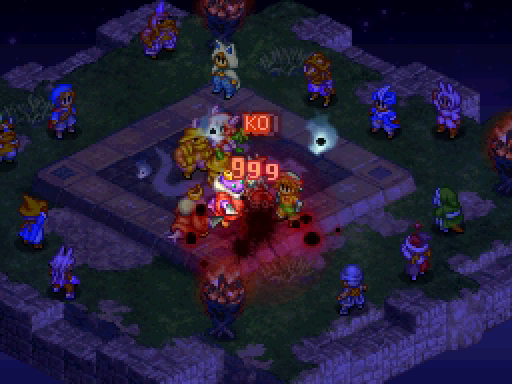
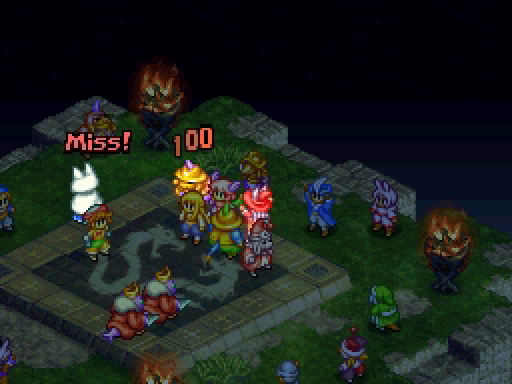
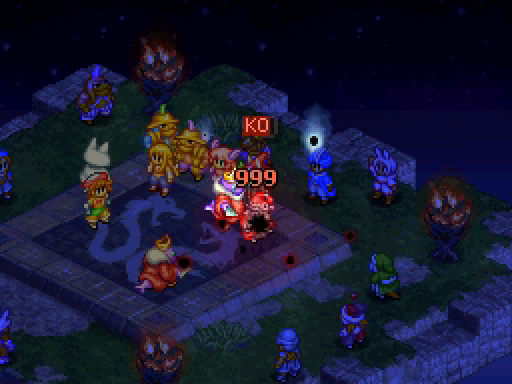
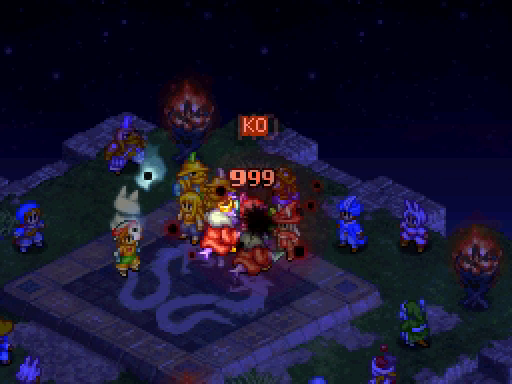
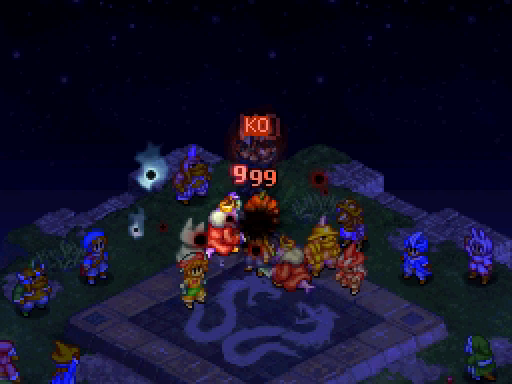
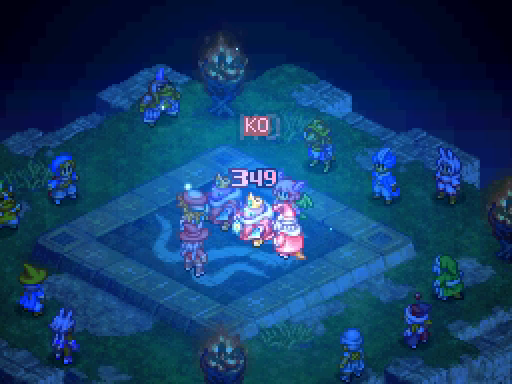
Sometimes you'll get lucky and most of your enemies will be destroyed.
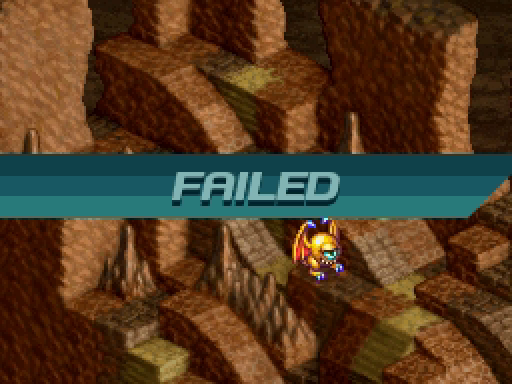
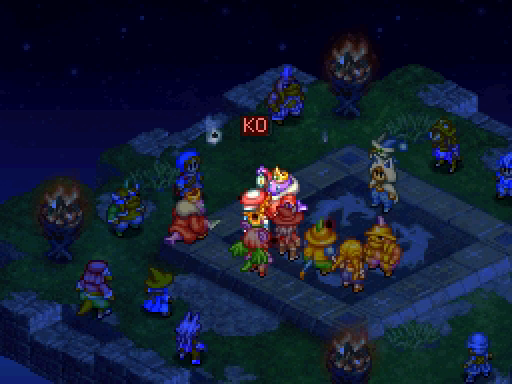
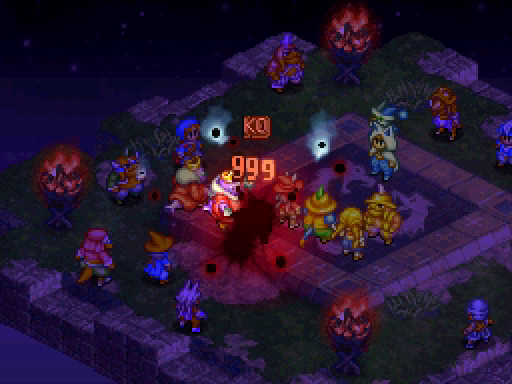
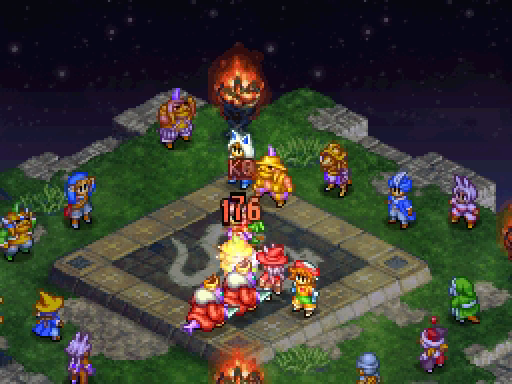
Or sometimes you'll lose because all of your units were killed! It's an undeniably awesome Scion that's not very easy to use.
---
Now, with that out of the way...
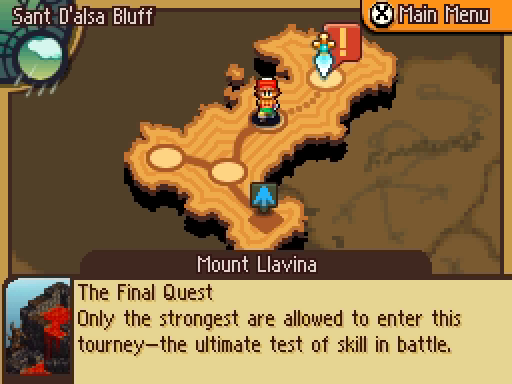
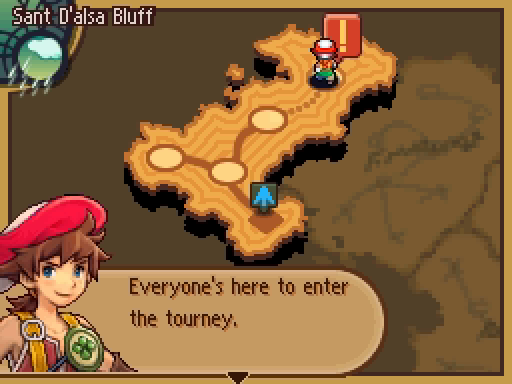
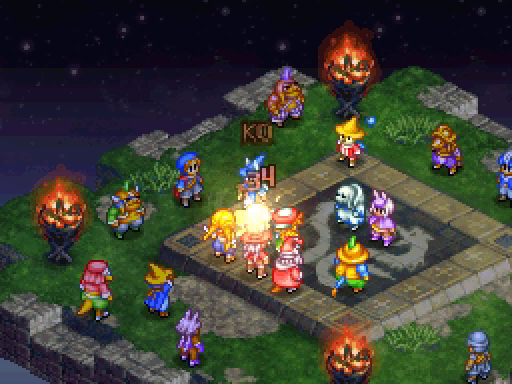
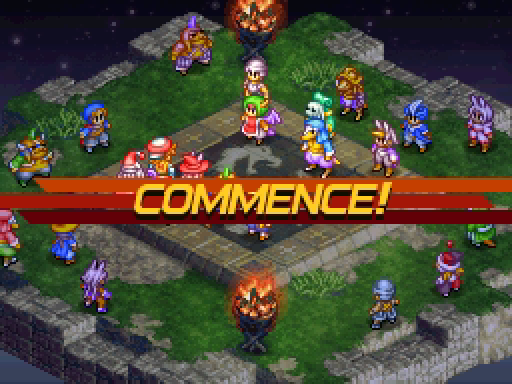
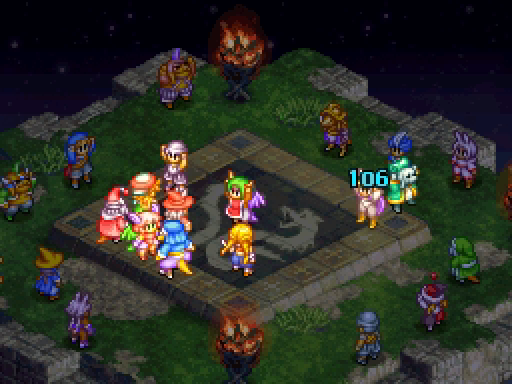
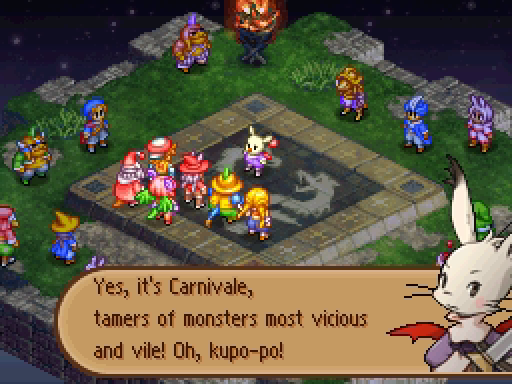
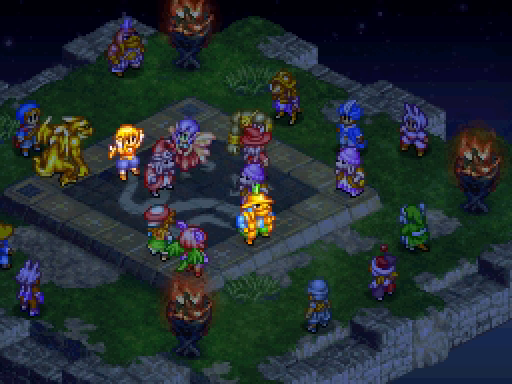
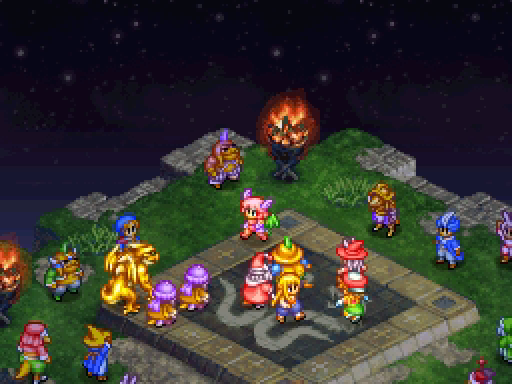
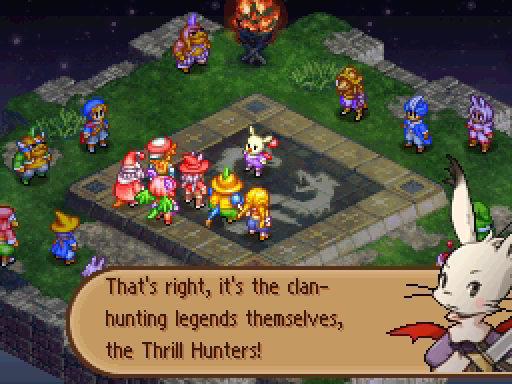
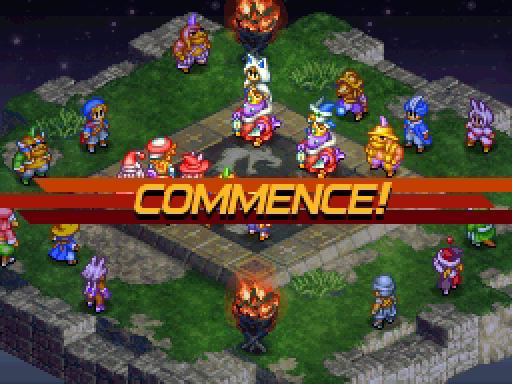
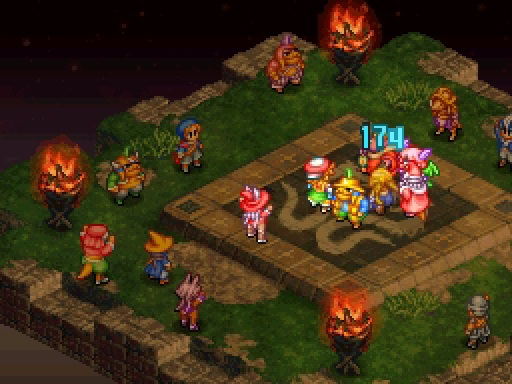
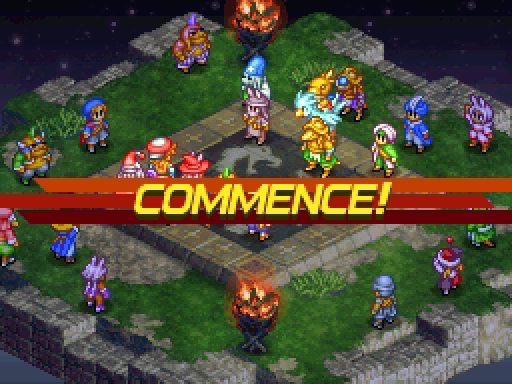
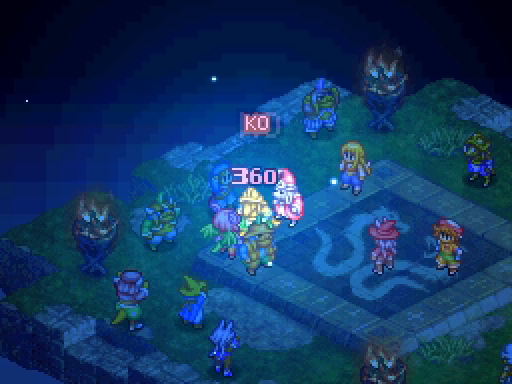
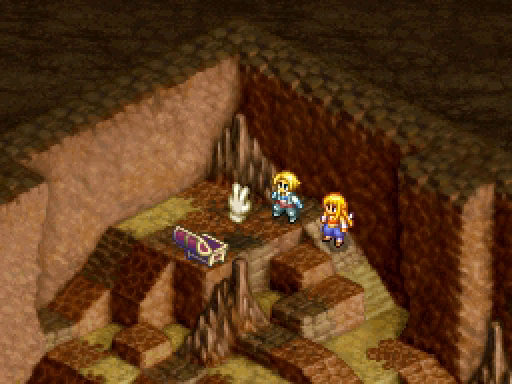
We're in Sant D'alsa Bluff, during Blackfrost. It is time for the Final Quest.
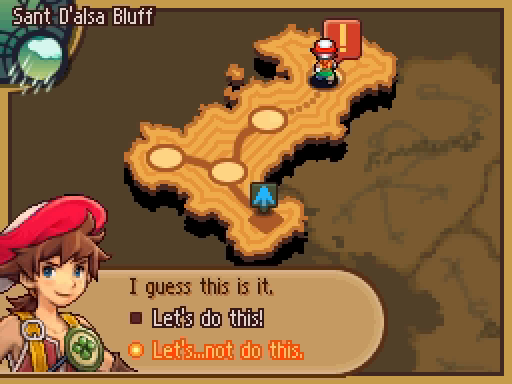
The quest is a five-round tournament, and this is your last chance to turn back.
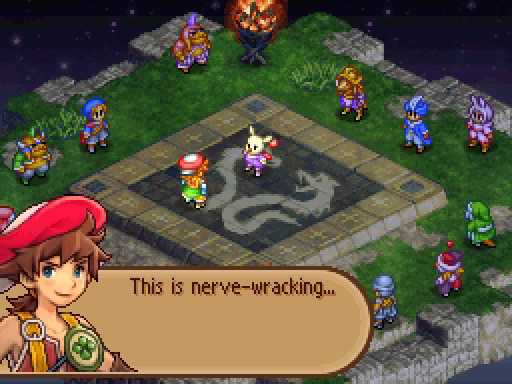
But we must press ever onward!
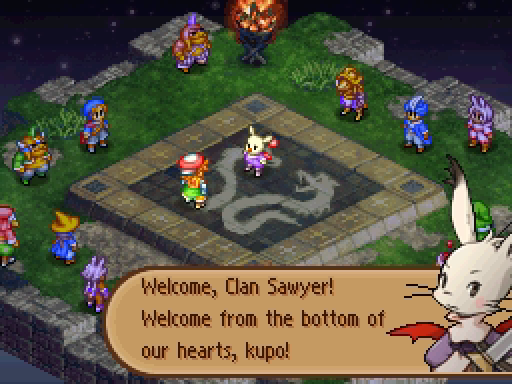
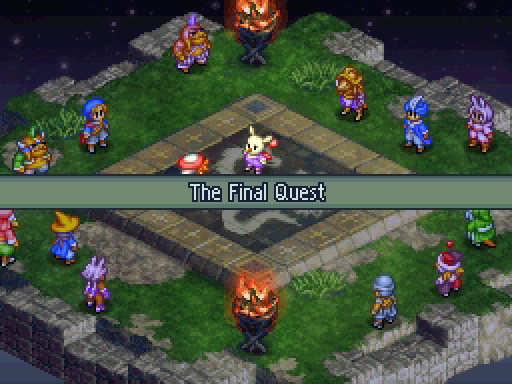
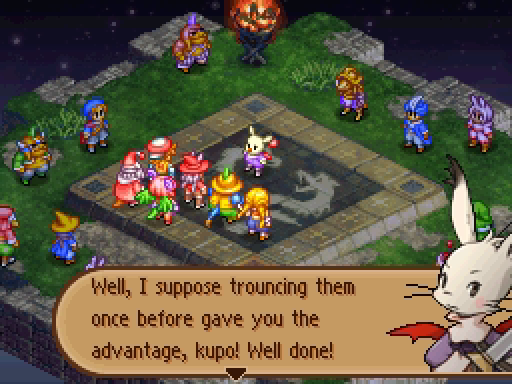
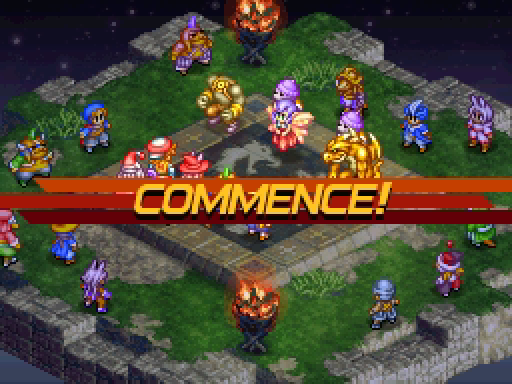
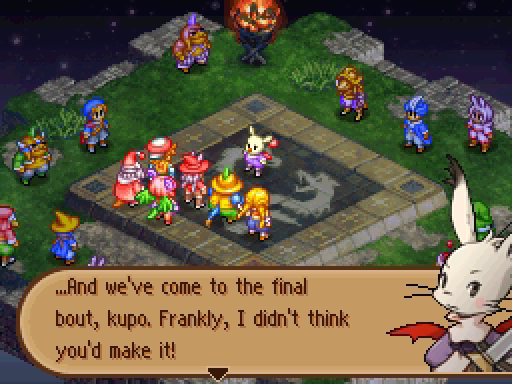
 : Now that the combatants are met, I'd like to begin this ultimate test of fighting prowess, kupo! In order to emerge victorious, you must win five bouts, kupo. In a row, kupo!
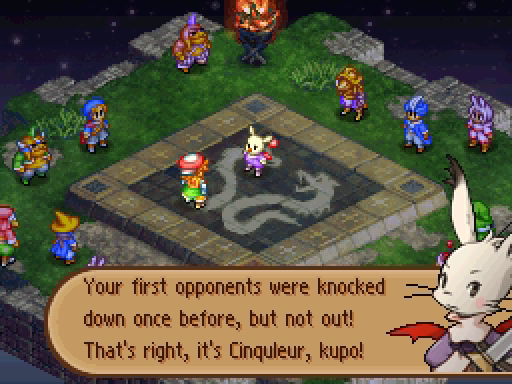
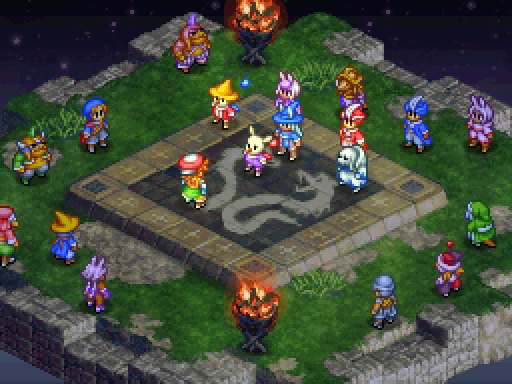
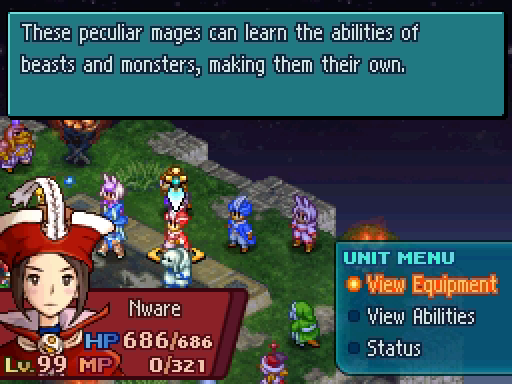
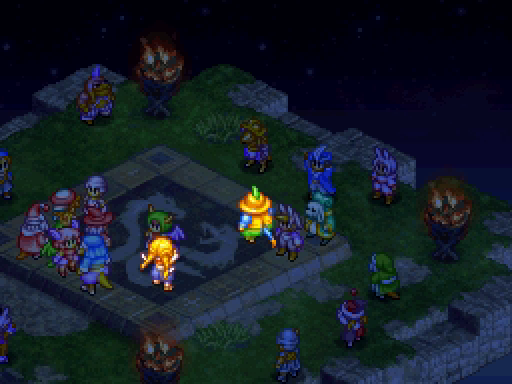
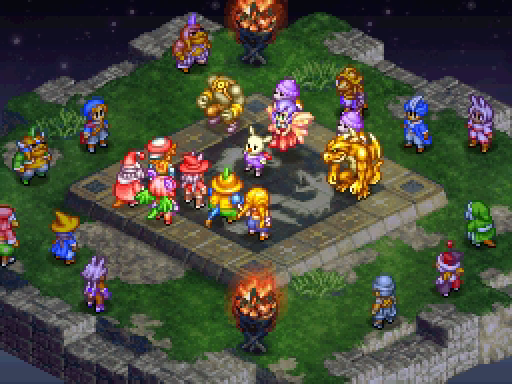
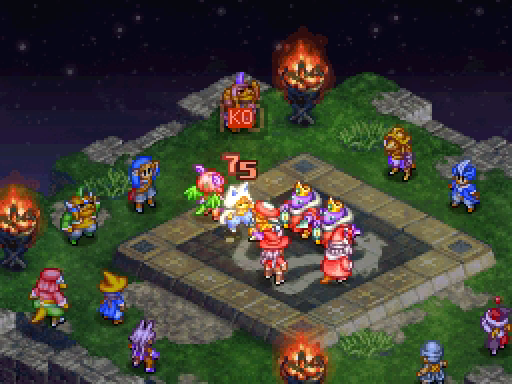
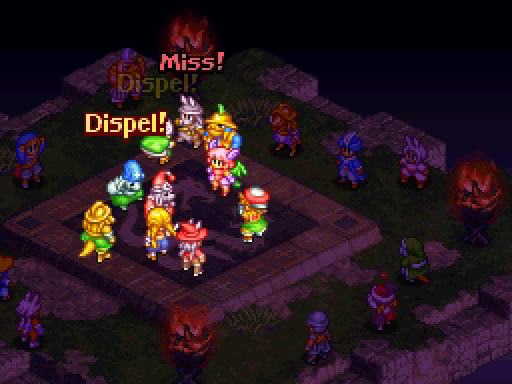
We last defeated Cinquleur in Update 59. They're a group of five mages, each one specializing in a certain color of magick.
The host teleports away.
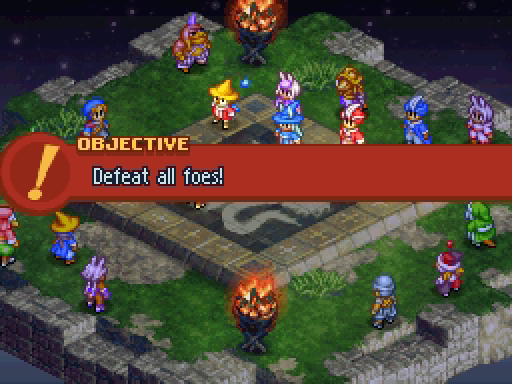
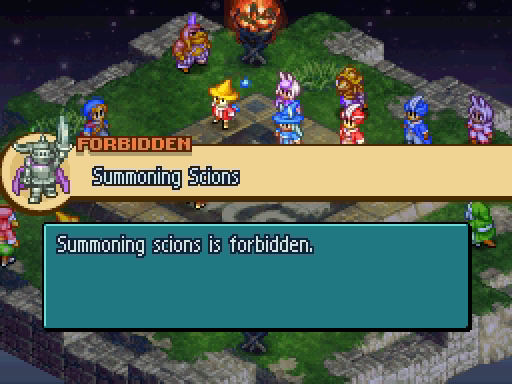
Very straightforward, of course. Though it would be nice to unleash Zodiark here...

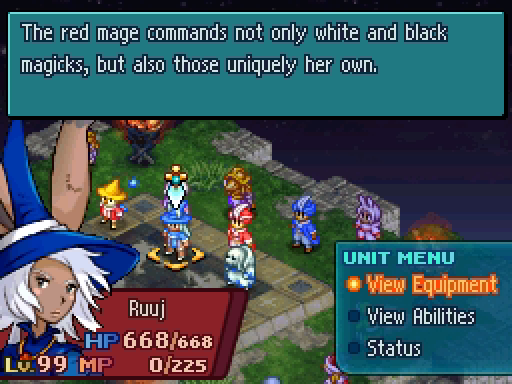
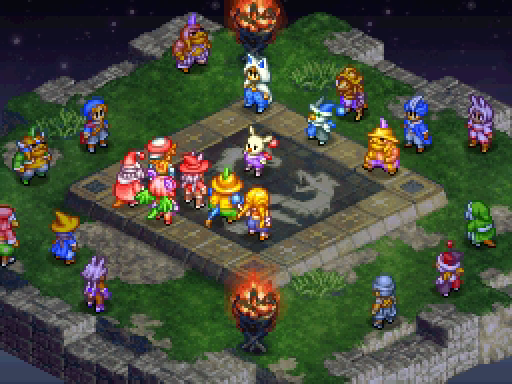
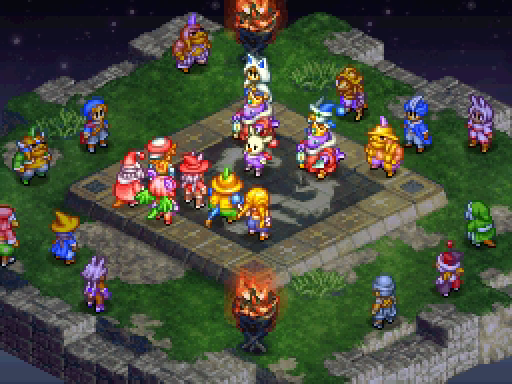
Unsurprisingly, all of the enemies are level 99 and loaded for bear. They'll also be using their secondary ability sets more often.

A rare error: the Black and Blue Mages have their names switched.
Our team consists of:

Samuel, as a Ninja/Blue Mage. Of course we have to have him here for the final quest!

Alchemist/Sage Talf, because (1) it's been too long since we used him, and (2) he's surprisingly fast enough to be useful. His very powerful spells help too.

Lenolia, in her usual setup. Like Brightmoon Tor, you desperately need Phoenix.

Zoe is our main melee unit. Leed, Cid or Henri would also have been great choices, though Zoe's ability to fly is a major point in her favor.

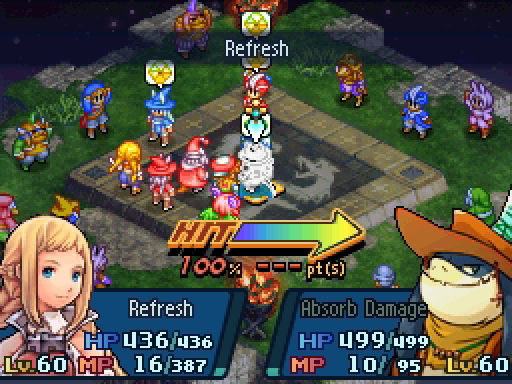
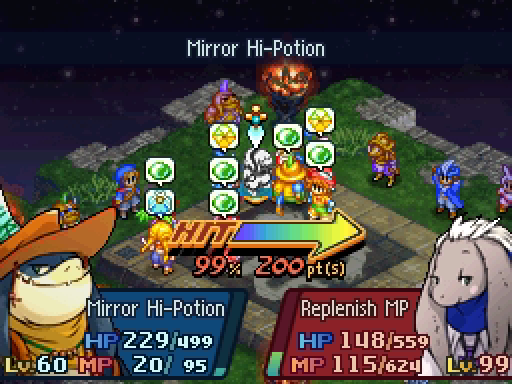
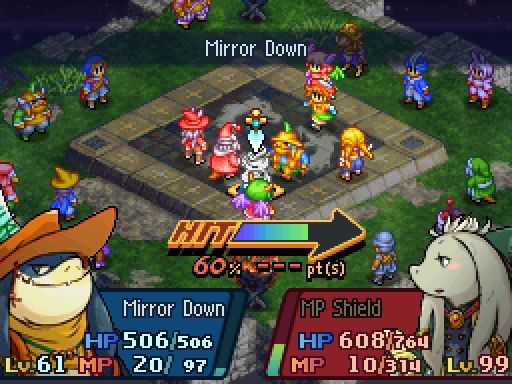
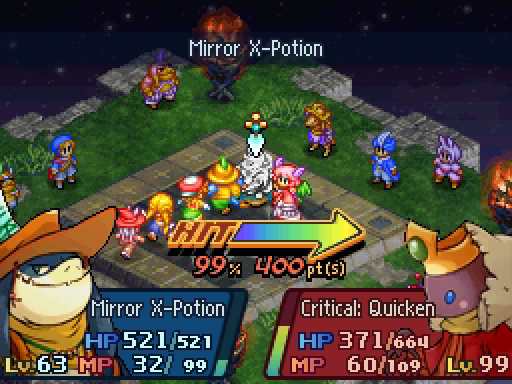
I've been restraining myself from using Tsing, because Mirror Items is truly broken. But this is The Final Quest, and I'm not going to hold back!
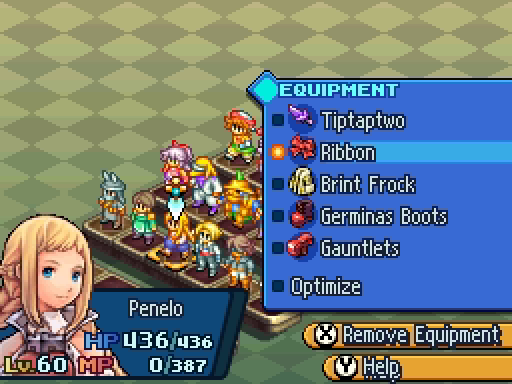
Finally, Penelo will be reprising her role from Brightmoon Tor as a backup healer and extra reviver. Another damage-focused unit would have likely been more helpful, but her Arise spell is extremely useful.
My general advice is to prepare for a battle on the level of Brightmoon Tor, and definitely bring many ways to revive people. Besides Phoenix, a lot of jobs have some form of Revive. In particular, Adelle's Elpe, which revives all units at the cost of Adelle's life, can be extraordinarily helpful here.

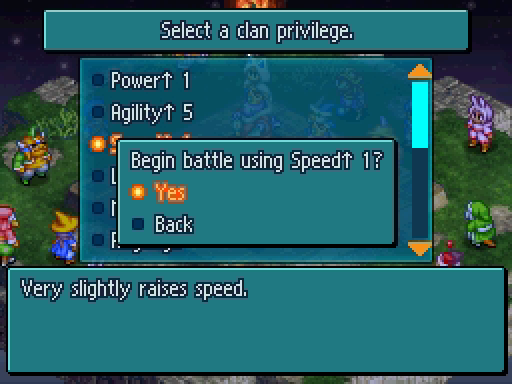
Like in the Tor, MP Efficiency is my privilege of choice.
This battle shouldn't be too bad. Cinquleur has no new tricks, besides their high levels.
Just like the Tor, the enemies have a few turns before us. This is due to them being 30+ levels higher than us rather than the game cheating, as far as I know.
It's not a bad idea to grind up some levels before taking on this quest. Brightmoon Tor, roaming monster battles and repeatable quests like the Rivalry of the Rupies will give you plenty of XP fairly quickly.
As in the Tor, I'll be cutting out the less important turns, though these battles don't drag nearly as badly.
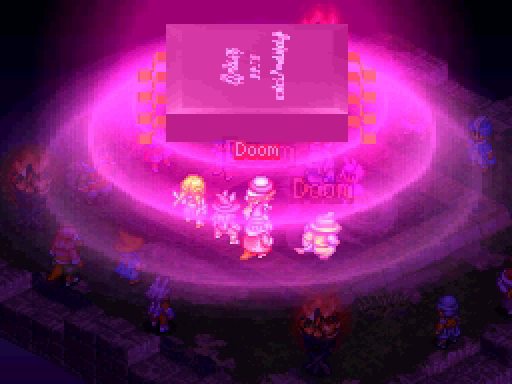
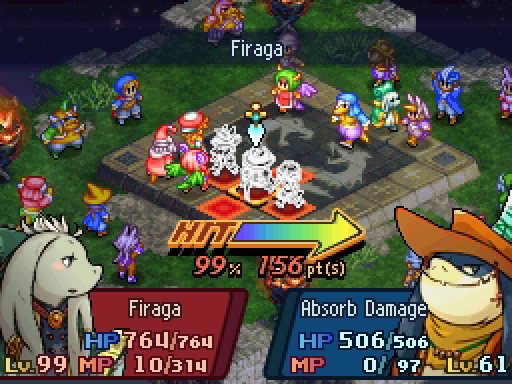
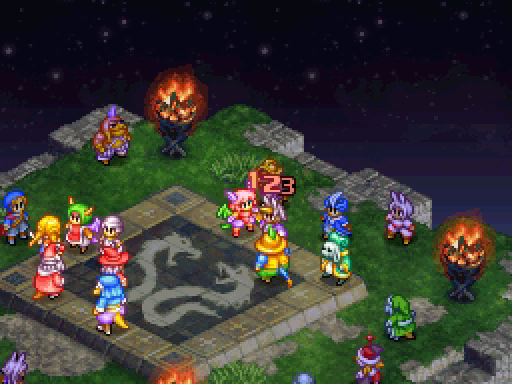
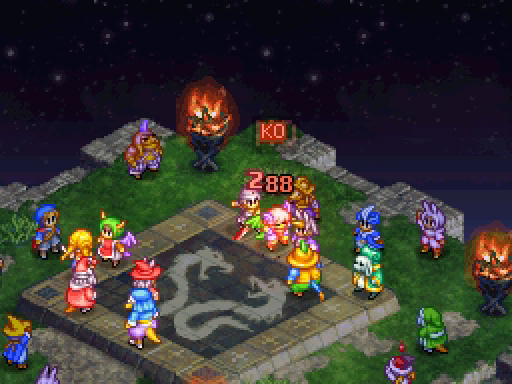
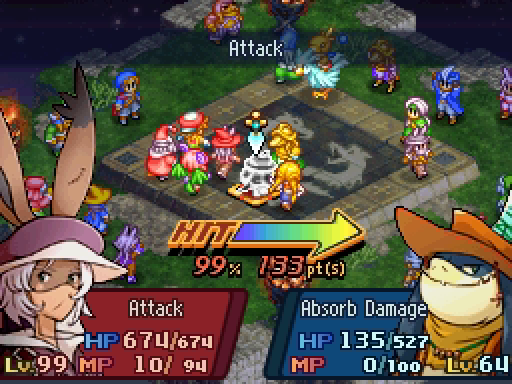
The Black Mage has two gimmicks: he absorbs Fire, Ice and Lightning damage, and he really likes Dooming everyone.
This backfires on him fairly often, but his whole team is immune to Doom.
The lack of Haste shenanigans means we actually get a turn in time to try to save Zoe, who has been targeted by just about all the enemies so far.
It's not enough, as the Blue Mage's Magick Frenzy takes her out.
And then Samuel and Tsing are Doomed.
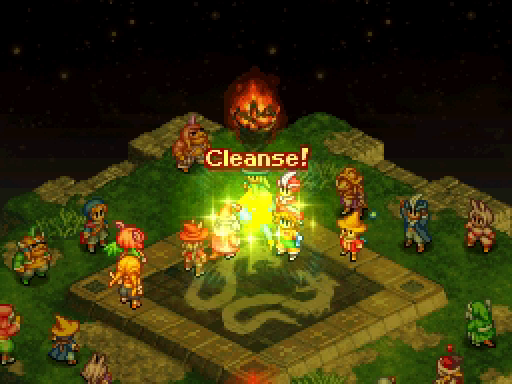
At least Samuel will be cleansed of it once he's revived.
Tsing has his own ways of getting revenge.
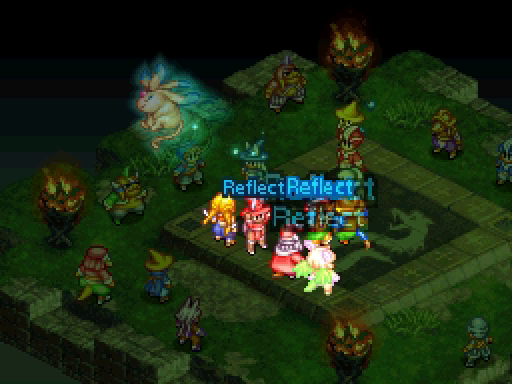
Lenolia revives Zoe and Samuel and grants everyone Reflect, which in retrospect wasn't a great idea.
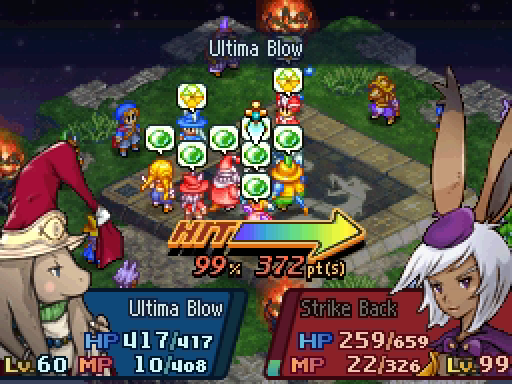
Here's an example of why I brought Talf. Ultima is such a satisfying attack to use.
Thanks to Reflect, Penelo can't cleanse Tsing's Doom.
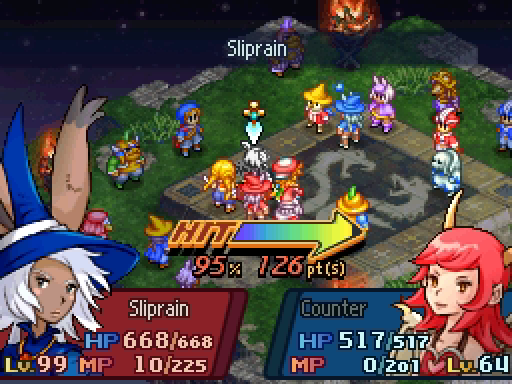
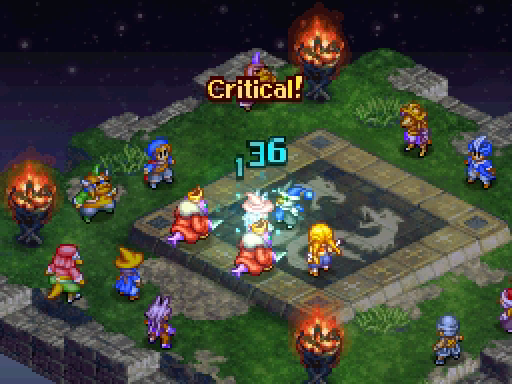
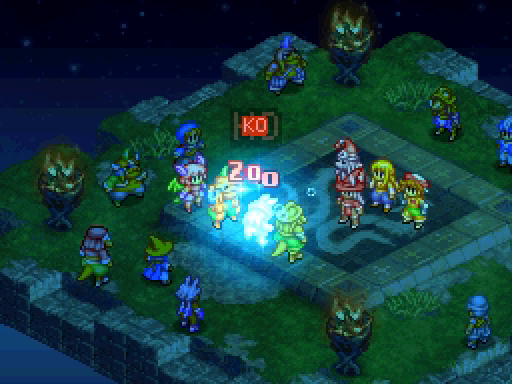
The White Mage is my next target. Samuel, Lenolia and Zoe land a few excellent hits, and Tsing finishes him off.
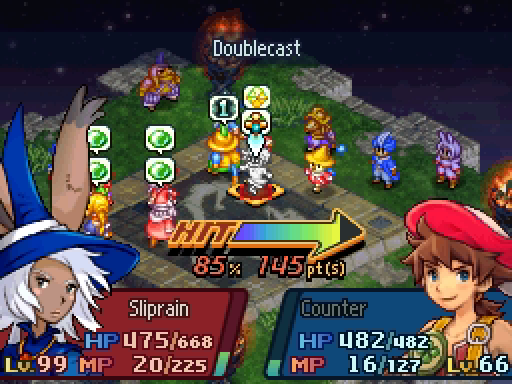
The Red Mage is pretty dangerous thanks to Double Cast. She usually spreads her spells across multiple targets, thankfully.
Talf finally purges Doom off Tsing. Sage spells aren't redirected by Reflect!
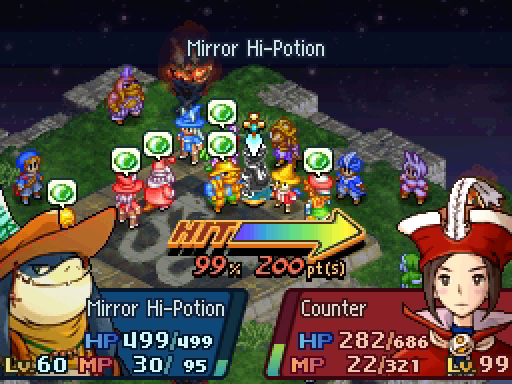
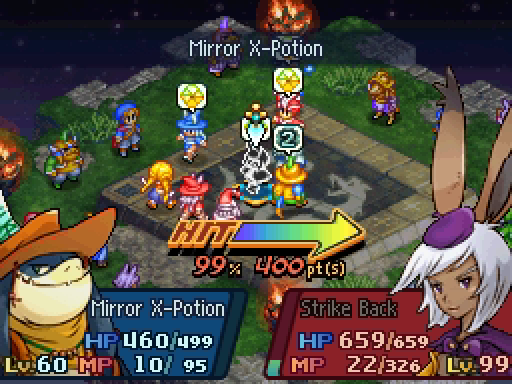
I don't know why I didn't go for the Mirror X-Potion here, which would have killed the Blue Mage.
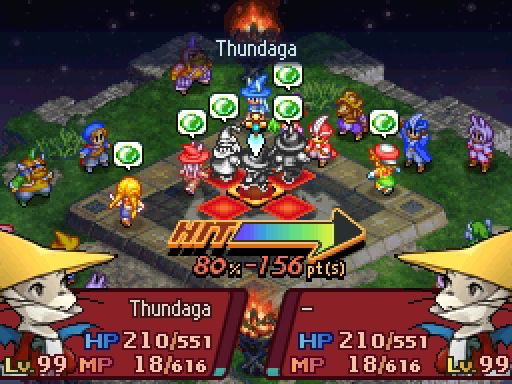
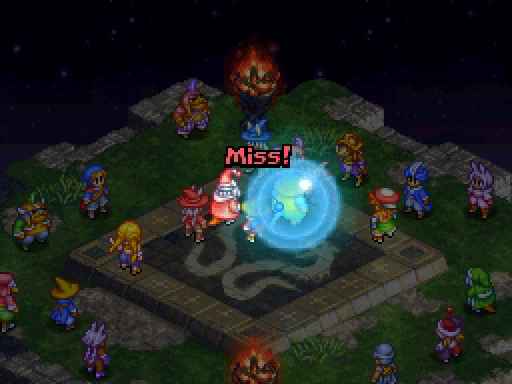
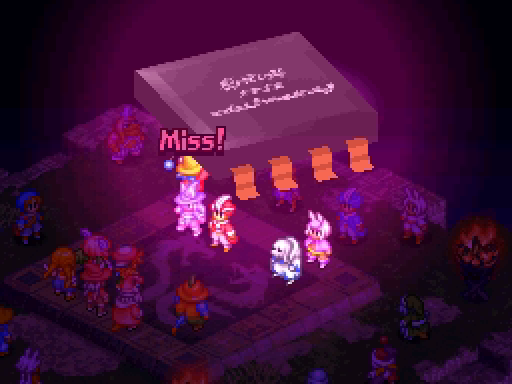
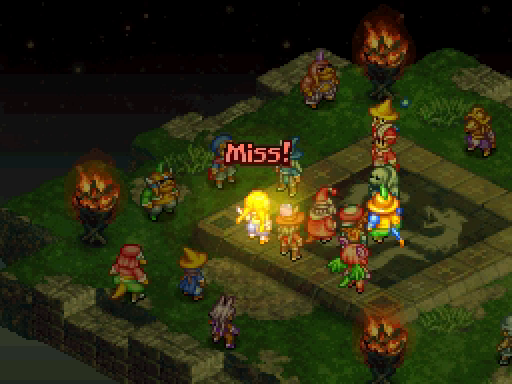
The Black Mage goes for a heal by targeting himself with Thundaga. Thanks to Reflect, Talf and Tsing are unharmed -- and somehow all three spells miss the Black Mage, granting him no health at all!
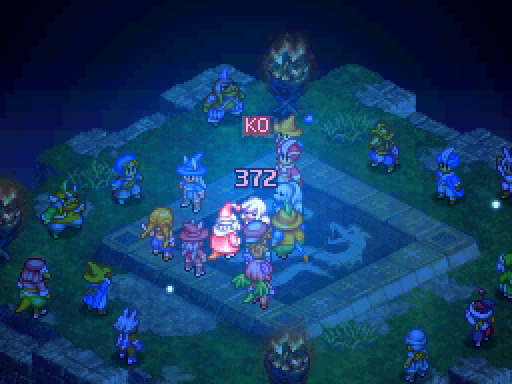
Talf shatters him with Ultima.
Samuel finishes off the Blue Mage, leaving just the Red Mage in the corner.
Talf gets his, what, third kill this battle? He ended up being way more useful than I had expected!
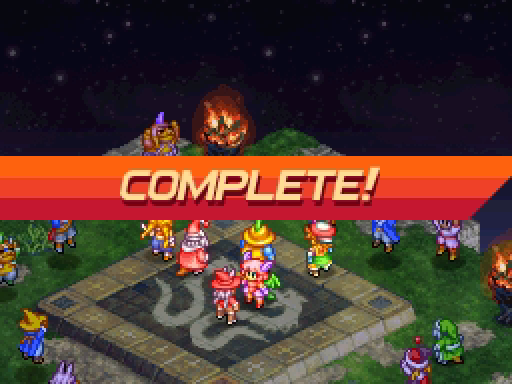
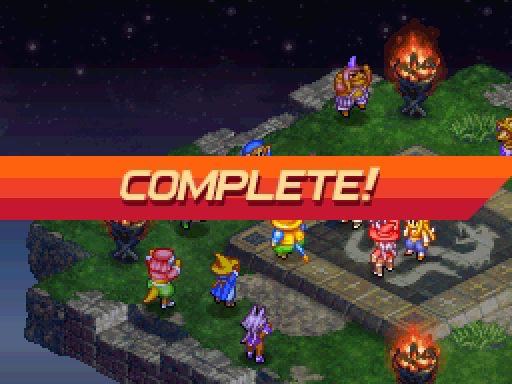
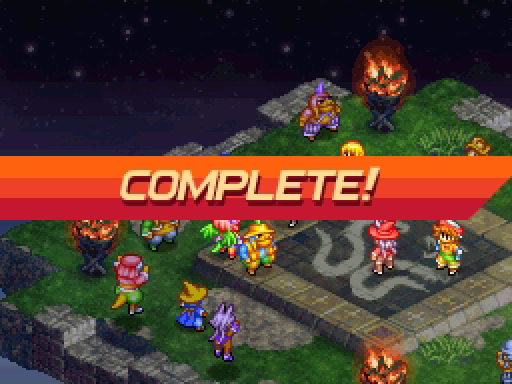
First round done. It's just going to get harder from here.
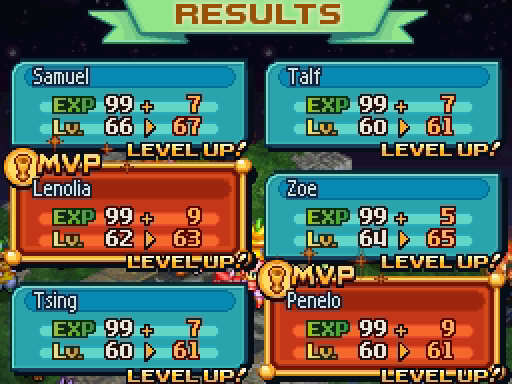
Every round gives 99 XP to everyone, guaranteeing you a level.
---
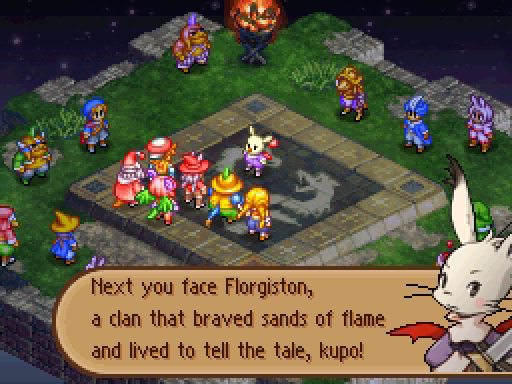
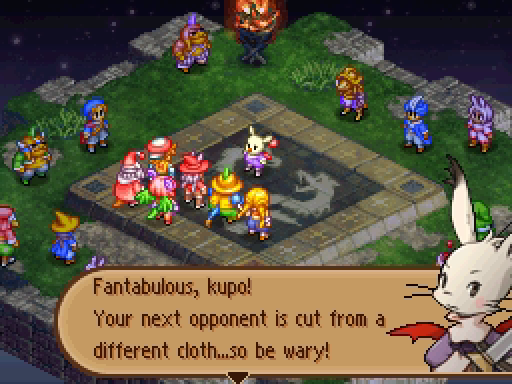
The host reappears to introduce our next opponent before teleporting away again.
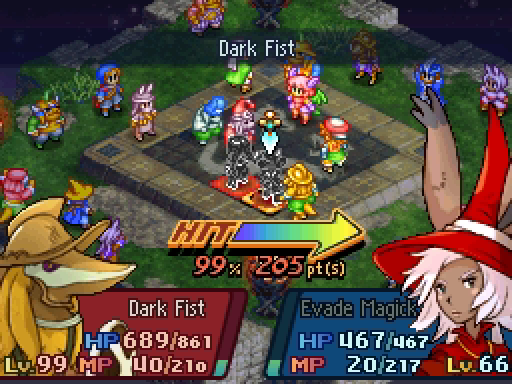
Same law, I took the same privilege, and we don't have a chance to check out our enemy before the battle begins.
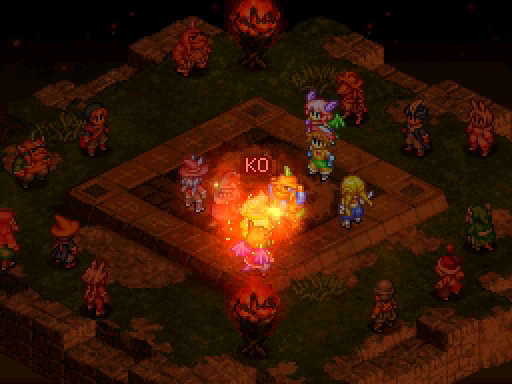
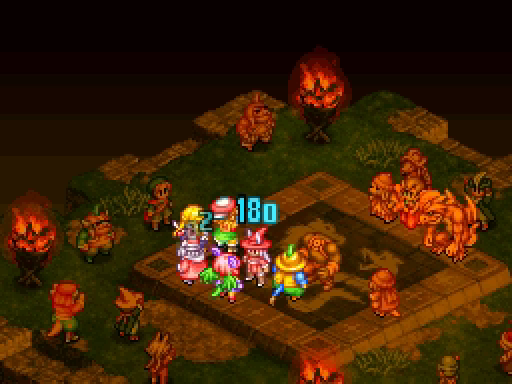
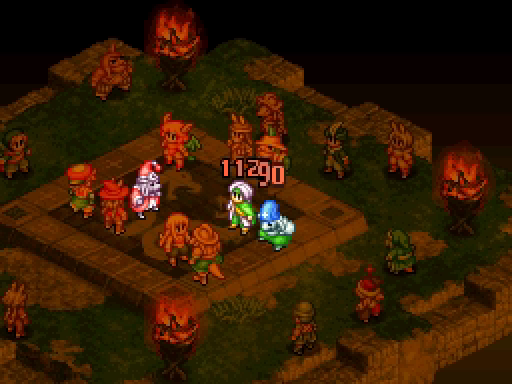
As you might expect from a clan whose name riffs on "phlogiston," they really like fire.
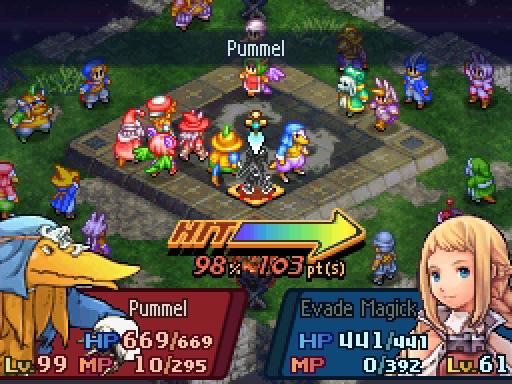
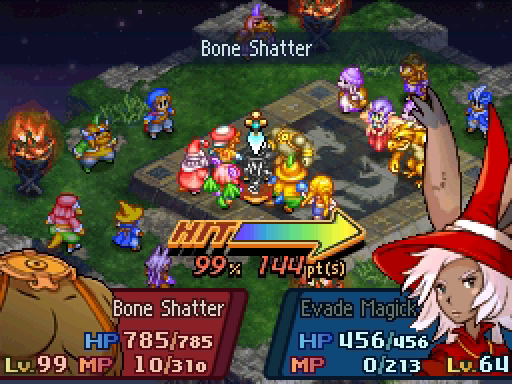
Evade Magick is still really useful here, as it was in the Tor, but of course it doesn't save you from melee attacks.

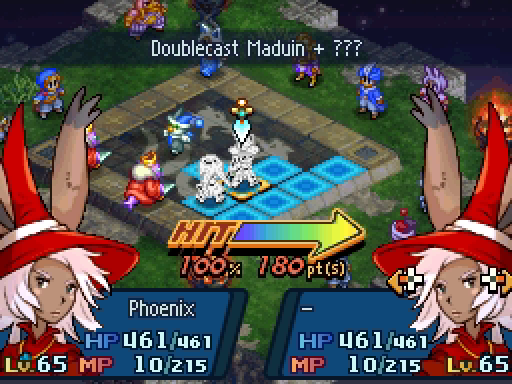
I think this is our first (or second?) time facing a Double Cast Blood Magick Summoner. While she has powerful attacks, she doesn't have Phoenix, so I think we'll be OK.
Her friendly Arcanist will make sure she's healed up. They all absorb Earth damage.
Here's one advantage of Arise over Phoenix: really cheeky revive spots. Hopefully Tsing can survive long enough to drop a potion on someone over there.
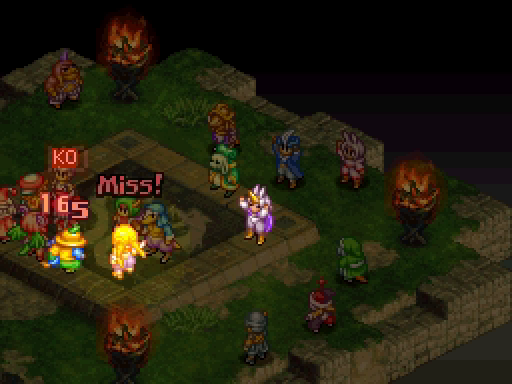
Sadly, my aggressive tactic does not pay off for Zoe.
But Lenolia is always there to clean up my mistakes.
Let's try that again.
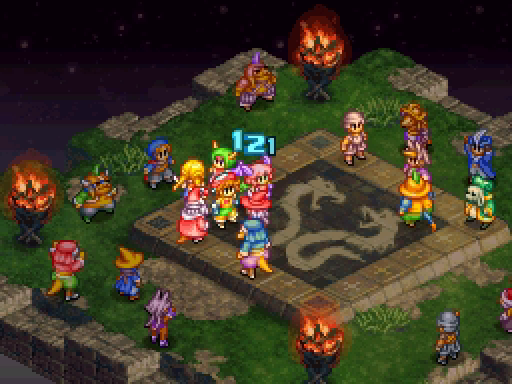
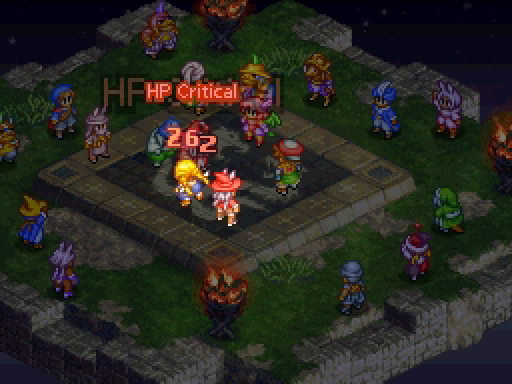
This time, thanks to some emergency healing from Samuel, Tsing lives long enough to take out the Summoner. There was like four turns in there where everyone was trying to get a piece of him.
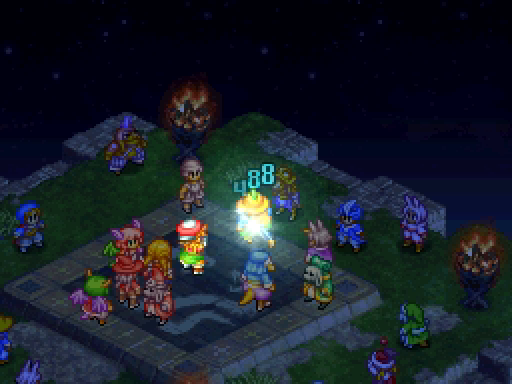
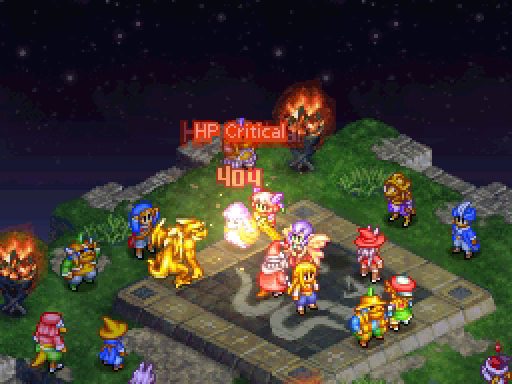
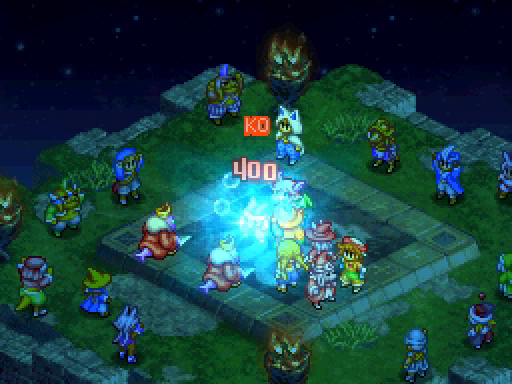
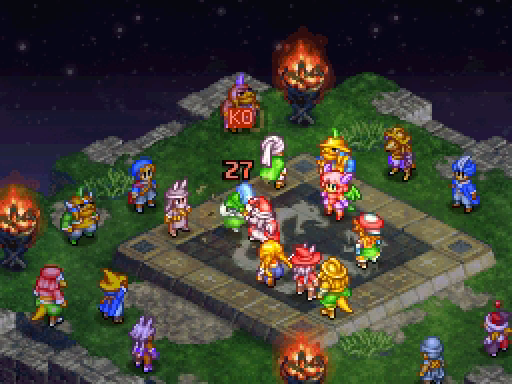
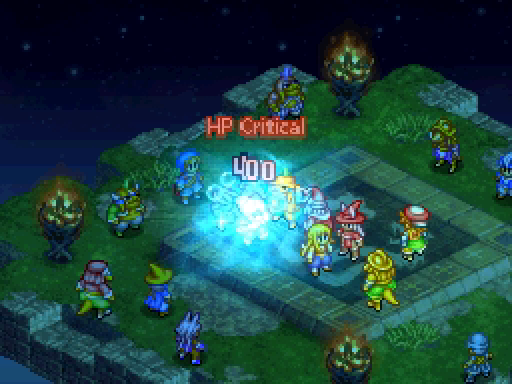
With some help from Penelo, Talf rends the Master Monk from this mortal plane.

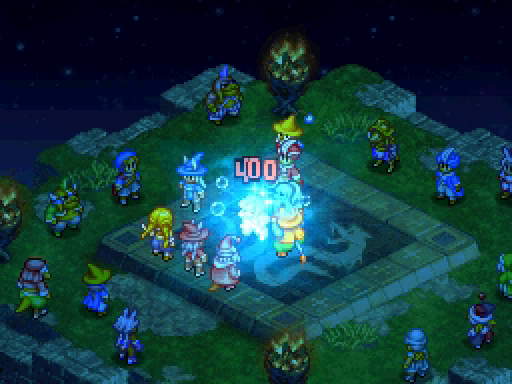
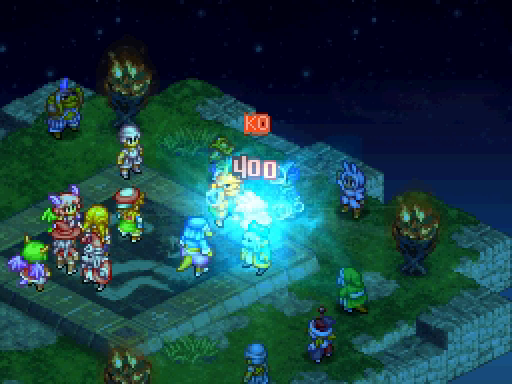
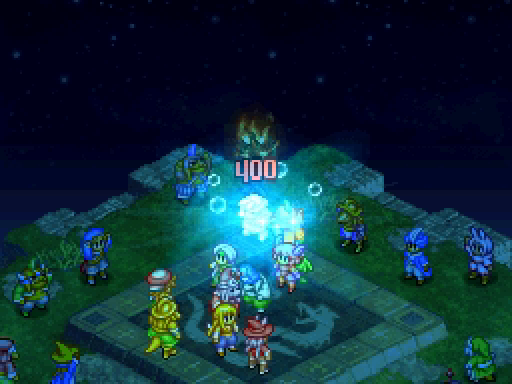
It's nice having multiple units dealing 400+ damage, I have to say.
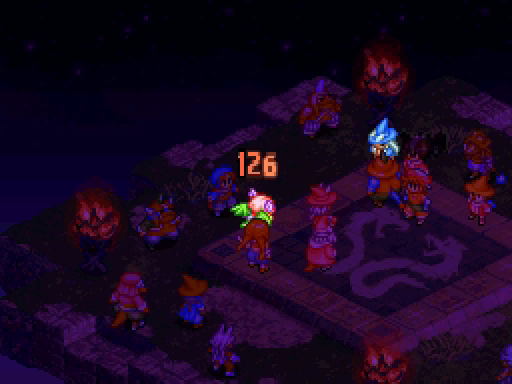
Other times you don't need to deal damage at all!

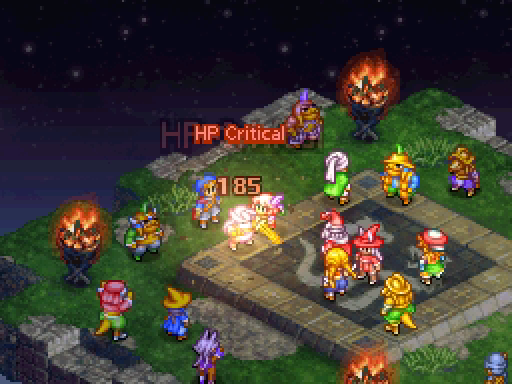
The Geomancer gives us a few merry turns of chasing her around the battlefield, but she eventually corners herself and Samuel finishes her off.

Another easy one!
---
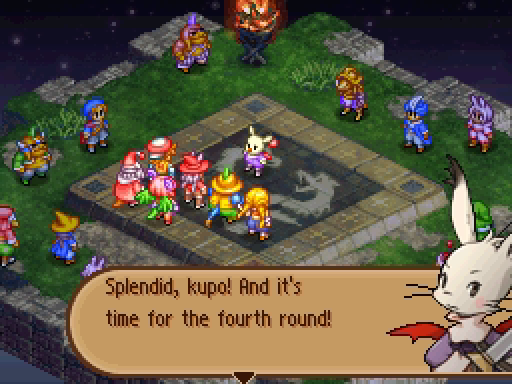
And now that I've said that, it's time for these to become difficult.
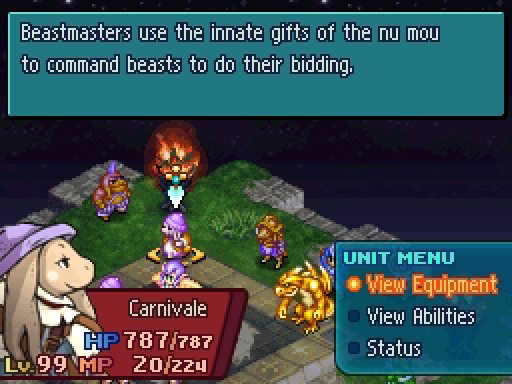
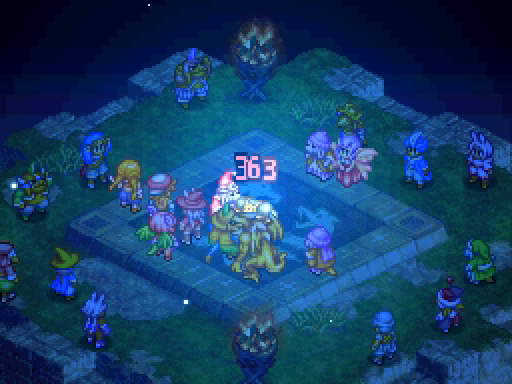
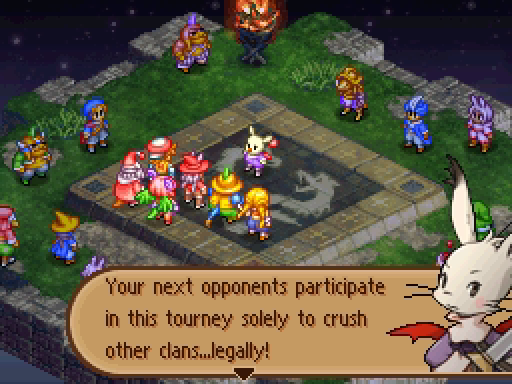
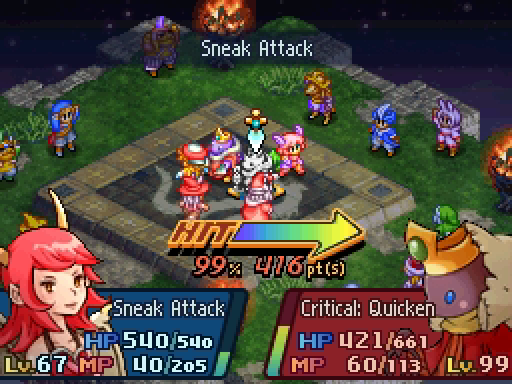
This is one of the most interesting teams you'll see in this game: three powerful monsters and two Beastmasters.
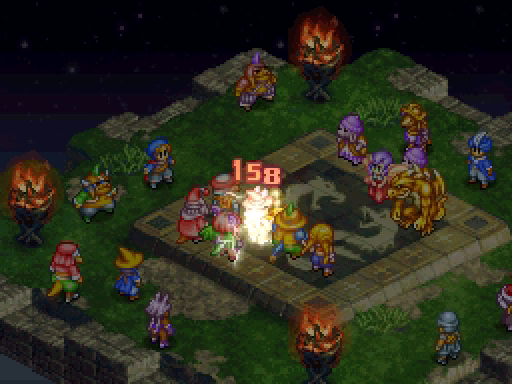
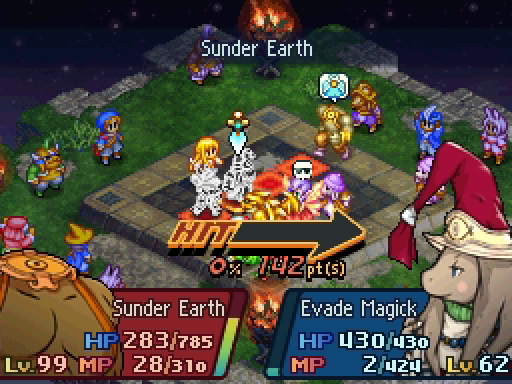
First, the monsters punch you in the face/drop meteorites on your head/throw balls of lightning at you.
Then the Beastmasters spend their turns letting the monsters attack again. Since this isn't an actual turn for the monster, like Quicken would be, the monster's next turn isn't delayed. You're basically fighting five powerful monsters.
And when they all target Lenolia, it's enough to kill her. She has an Angel Ring though!
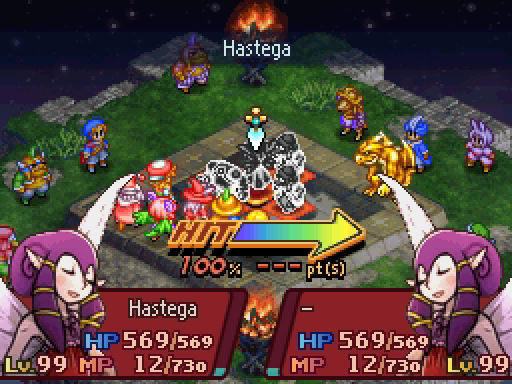
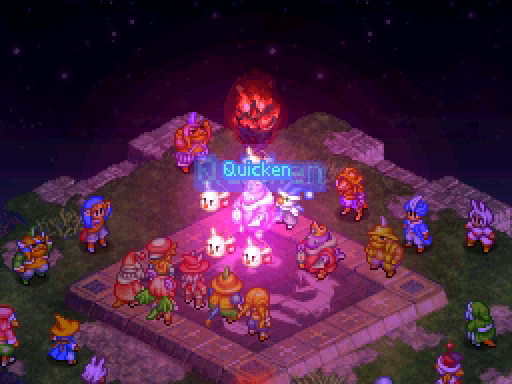
Also: Haste. I'm so sick of Haste.
No dying on my watch, Lenolia.
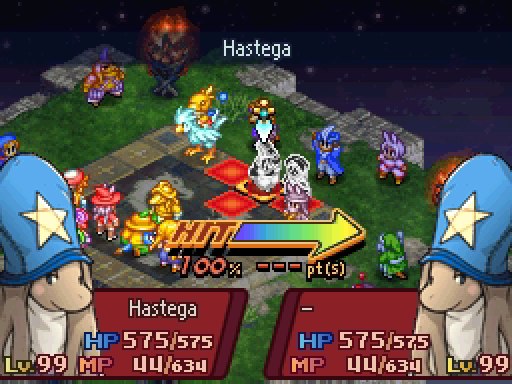
Now that it's my turn, let me make it clear that the Beastmasters should be your first target! Or maybe the Banshee, since she has Hastega.
Or maybe all of them are the biggest threat, I don't know.

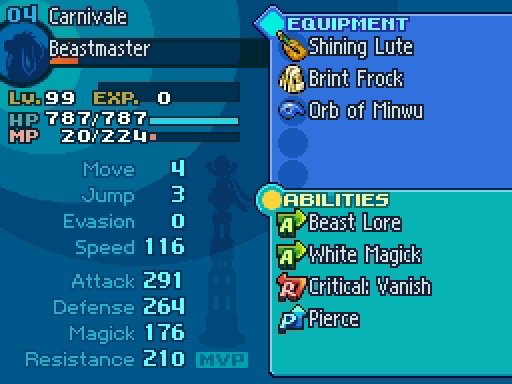
It's a really impressive team, and I wish we had the chance to build one like this for ourselves.
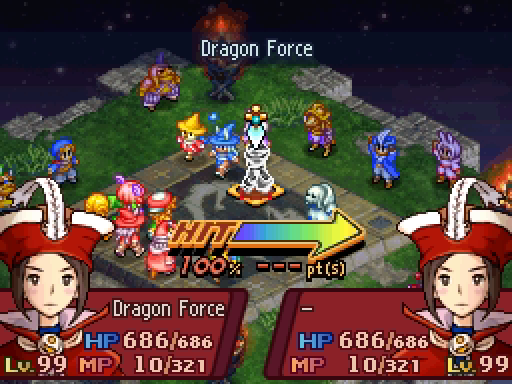
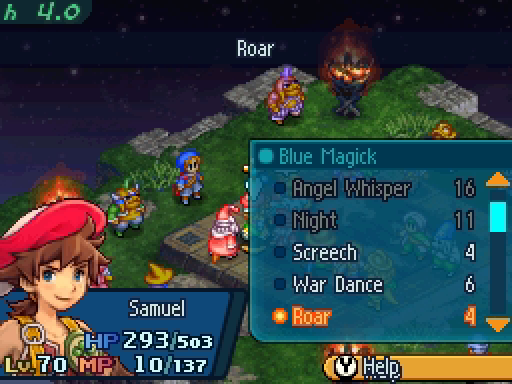
Samuel's Roar and Lenolia's Phoenix level the playing field. And by that I mean strip away Haste and revive our fallen units.
Then it's time to start laying in the damage and the debuffs!

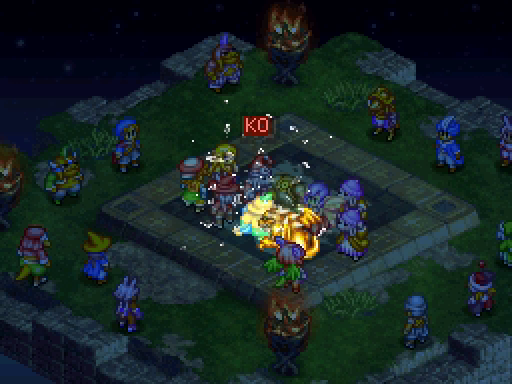
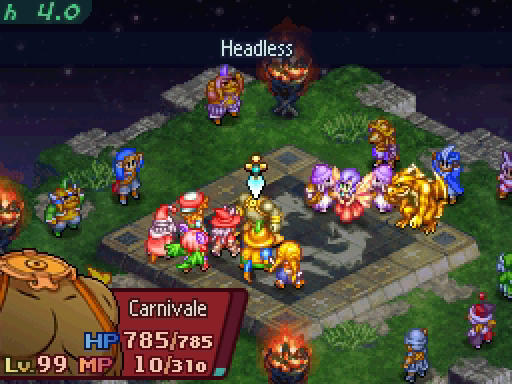
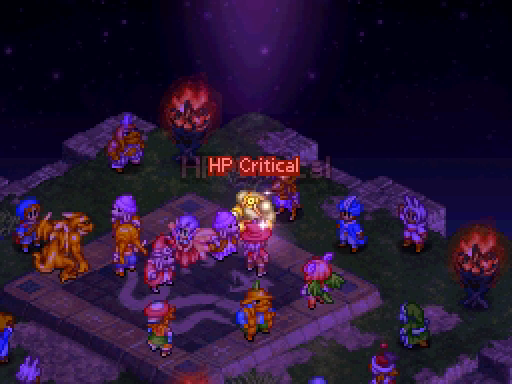
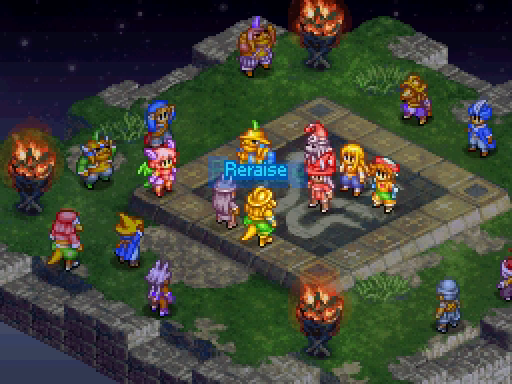
The Banshee used Angel Whisper to give Reraise to the Headless. Note the little cherubs. Meanwhile, Tsing dies again.
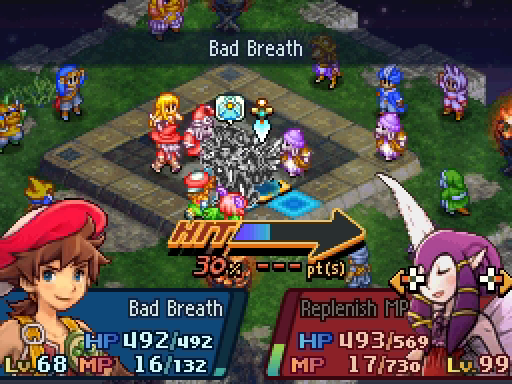
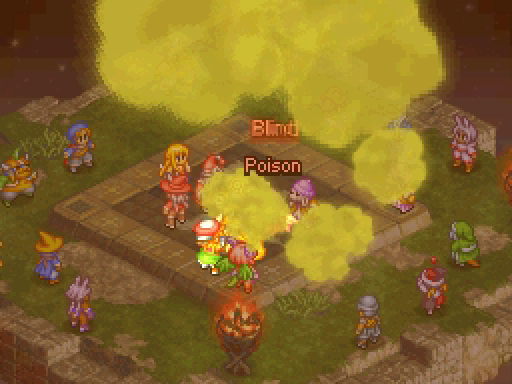
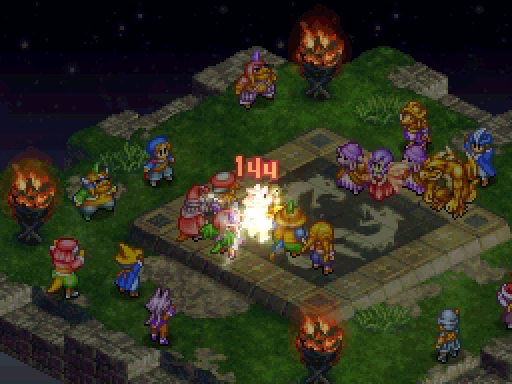
In an incredible stroke of luck, Samuel lands a nasty Bad Breath on all the monsters, inflicting Poison, Blind and Silence.
This reveals the rather interesting fact that not everything that counts as magick is blocked by Silence.
Tsing redeems his frequent flyer card.
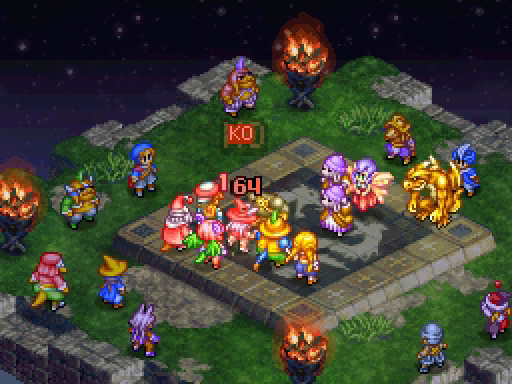
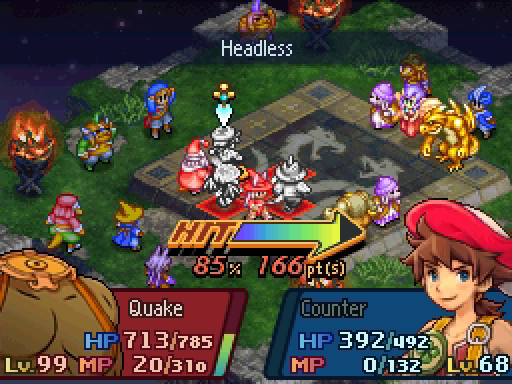
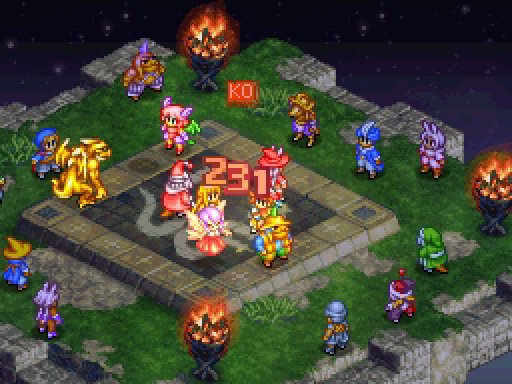
Zoe kills the Headless, but it comes right back.
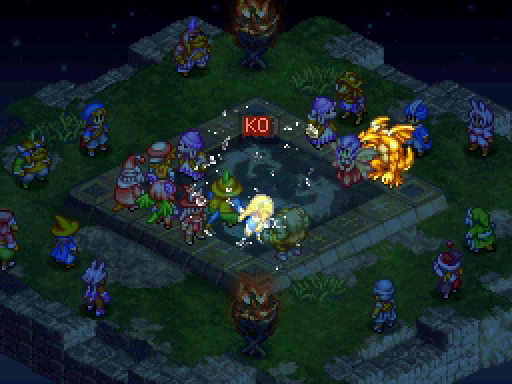
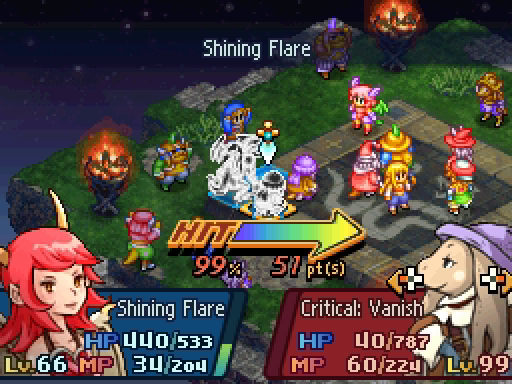
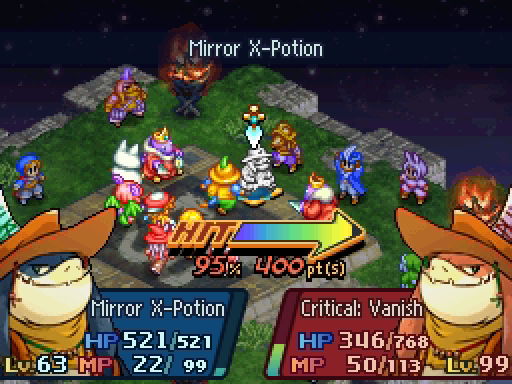
So Talf finishes the job, which has the side effect of weakening the Beastmaster enough to trigger Critical: Vanish.

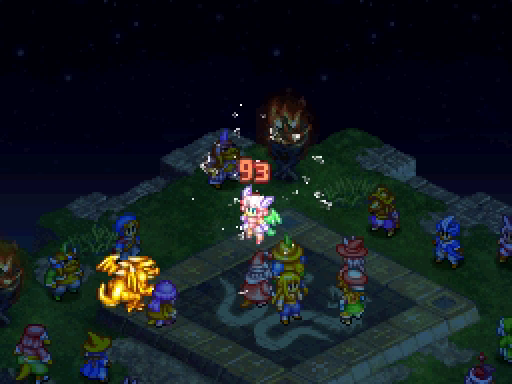
Zoe nearly kills the other Beastmaster.
Error 404: Beastmaster not found
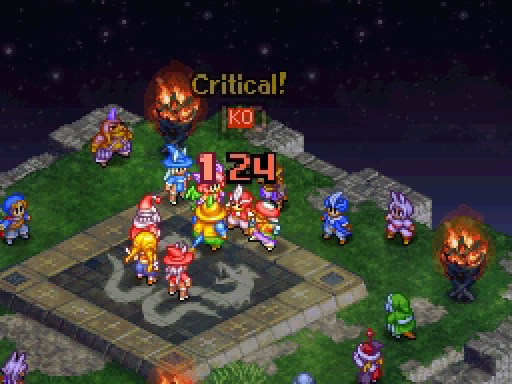
Samuel lands a lucky crit to kill the Banshee. This just leaves the Drake and the two weakened Beastmasters.
They run over to the Drake and have it attack Zoe.

This was rather a bad idea, since now they're nice clumped together.
The Drake is at about half health now, so this battle is basically over.
Just a bit of cleanup left.
---
If you thought last round was hard, well, you're in for a treat.
Well, OK, those three units are quite threatening, we know well what they can do.
Oh, fuck.
Confession time: this battle killed my first run. Thanks to the magic of save states, I was able to restart from the end of the previous battle -- my plan was to abuse the Quicksave feature to reset the RNG seed and basically cheat my way into some better luck.
That turned out to be unnecessary, as my second attempt was a success. Choosing a different clan privilege does actually change the AI's behavior, somehow, so I'm using Speed Up 1 instead of MP Efficiency.
Though let me clear: that does not mean this was a smooth ride.
I had hoped the Juggler didn't have this. Free turns are a pain!
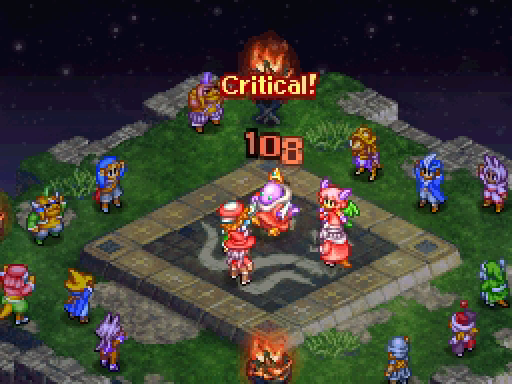
Especially when the recipient of that free turn is a Tonberry King. Do you remember Tonberry Kings? We fought one in update 53.
They're notable for two things: their much higher movement and speed, compared to regular Tonberries, for one.
Secondly, their insta-kill attacks that don't rely on Stalk.
So yes, this battle starts by watching two angry, knife-wielding, purple goblinoids shred your party.
Thankfully they aren't Hasted, they can only kill four people before you get a turn!
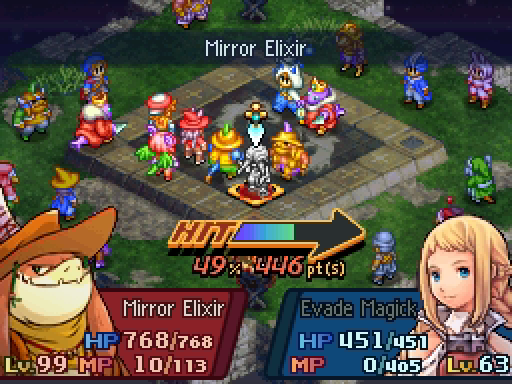
Oh, and the Ranger has Mirror Items. Fortunately, he only uses the low-accuracy Mirror Elixir, which reduces HP and MP to single digits.
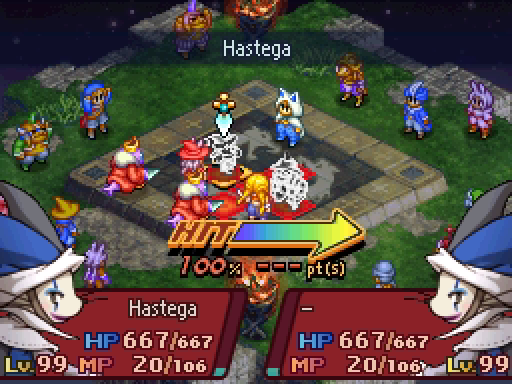
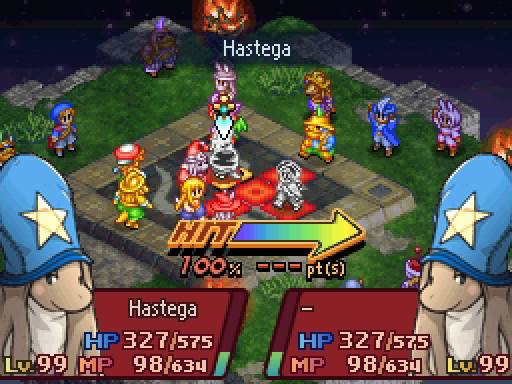
And the Juggler has Hastega.
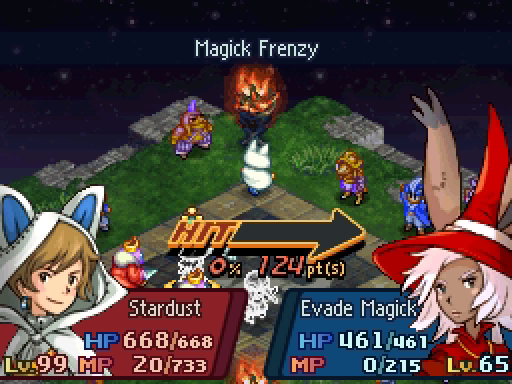
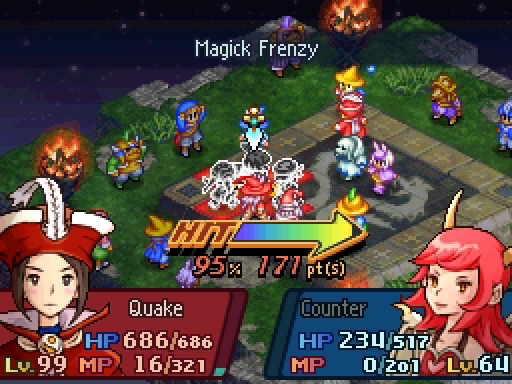
Also, the Seer uses Magick Frenzy Illusions. He's actually the least threatening one, because he doesn't have Dual Wield and Lenolia is healed by his attacks.
In my first run, the Tonberries killed everyone but Samuel and Tsing, who had no way to revive anyone. This is why I warned you to bring as many was to revive units as possible.
Since Phoenix revives units at full health, she can spend her other spell attacking the enemy.

The Juggler isn't too tough and should be one of your first targets. Hastega will be hellish if you let him cast it on the Tonberries.

Your other first target should be the Ranger. Yes, him, not the Tonberries. The monsters are aggressive and will one-shot everyone, but the Ranger can heal and revive them. He is absolutely more dangerous.
That doesn't mean ignore the Tonberries, of course. Take them out if you get a chance.
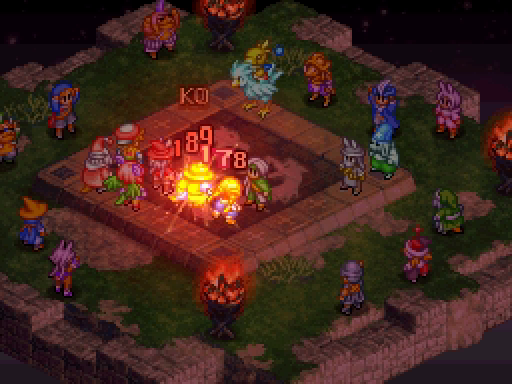
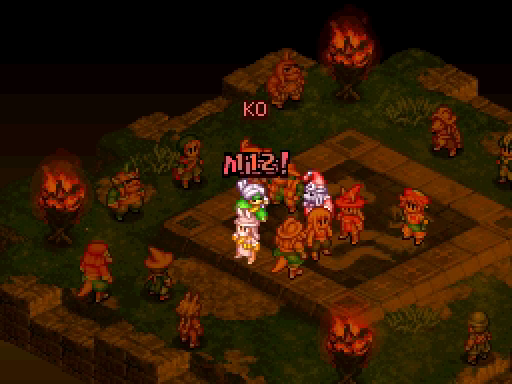
That's three dead in three turns!
I'm trying to use Phoenix in such a way that there are units between Lenolia and the Tonberries.
Luckily, the Tonberry attacks Talf here instead of Lenolia.
But then the Ranger lands a lucky Mirror Elixir! Remember, a weakened Lenolia is a magickless Lenolia -- Blood Price won't let her cast if she has too little HP.

Things are not looking great.
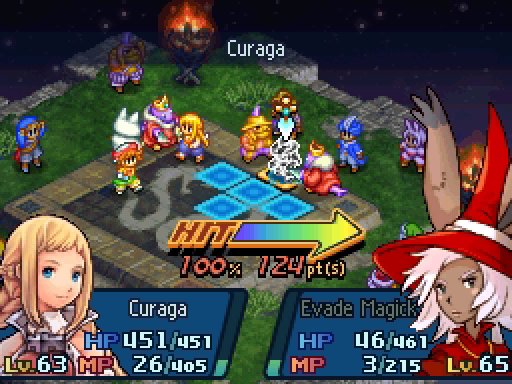
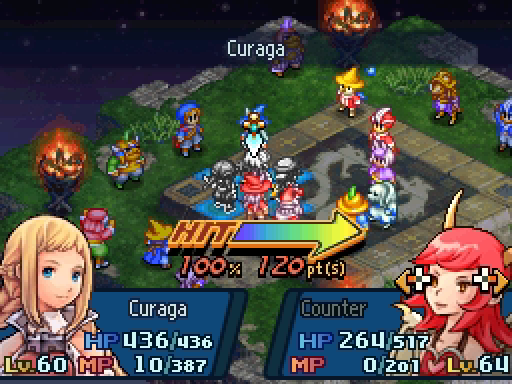
Oh wait, I had cast Reraise on Lenolia earlier, so she's back. A simple Curaga brings her up to useful HP. (Without MP Efficiency, I can't guarantee Penelo will have enough MP for Arise!)

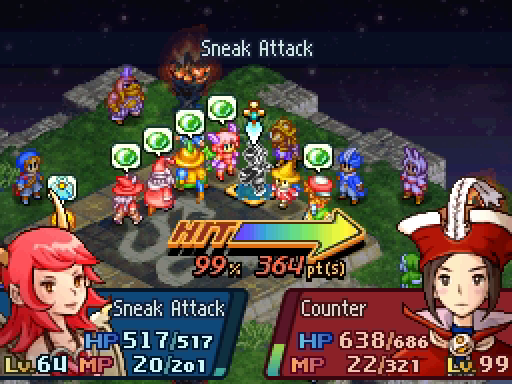
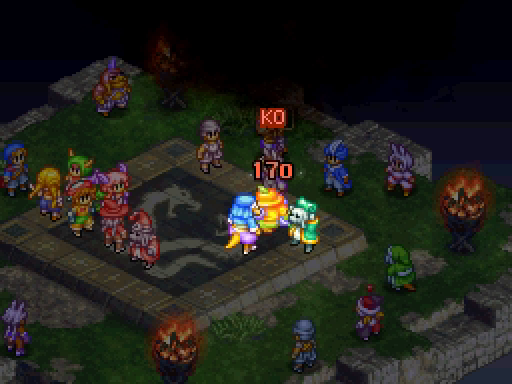
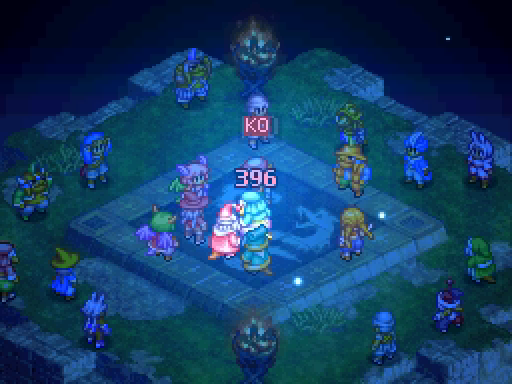
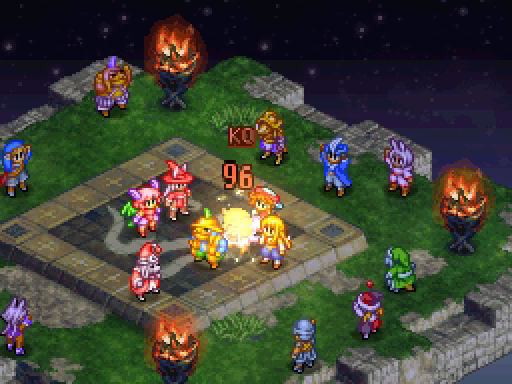
Lenolia moves to a safe position and revives everyone. Notably, the Ranger is now below 400 HP -- it's time for Tsing to strike!

Beautiful.

Lenolia nearly kills the Seer, too.

With the Ranger gone, I'm really not too worried. We just have to keep Lenolia safe!

Well. I had been hoping to keep the Seer alive until last, since that would give us time to heal before the next round.
Lenolia is within killing range, and this attack isn't guaranteed to kill the Tonberry King. I can't risk activating Critical: Quicken.
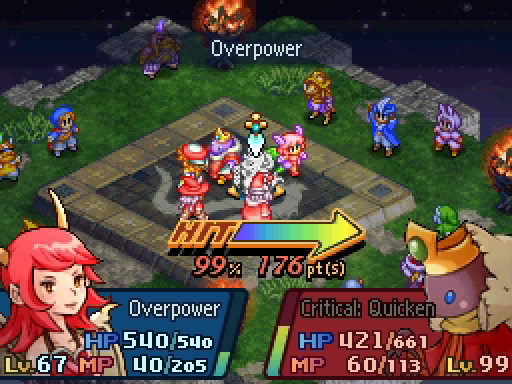

Instead, Overpower lets her deal plenty of damage and completely bypass the R-Ability.
And it leaves the Tonberry low enough for Talf to finish it off with Ultima!
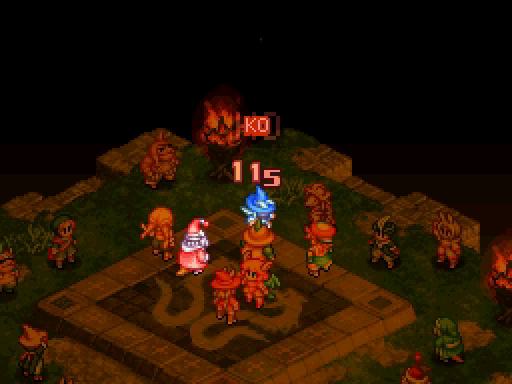
That just leaves the other Tonberry King, with a chance to heal up.
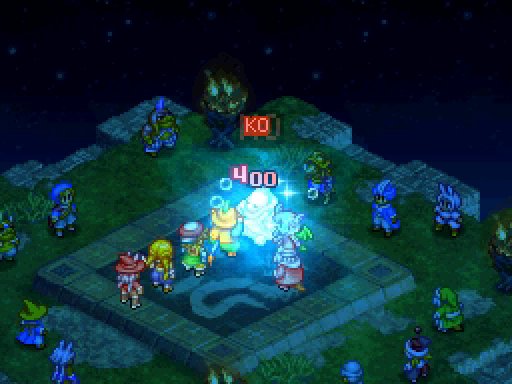
Perfect.
That right there was undoubtedly the hardest battle in this game. One wrong step and the whole thing unravels -- assuming you even take a turn before your whole team is stabbed to death.
---
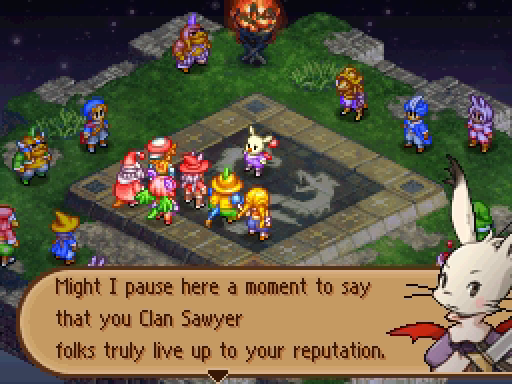
Our reputation as unkillable lords of battle, I hope.
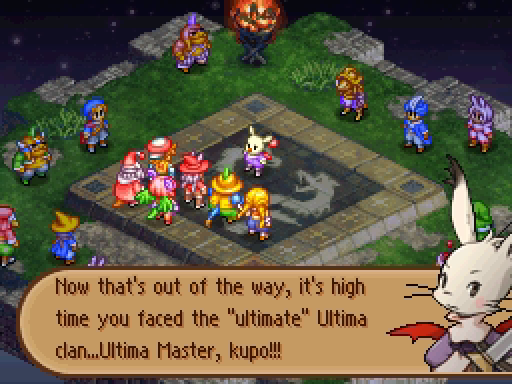
Yay, a team that uses nothing but Ultima!
No, we don't get to fight the host, though I kind of wish we did. Also, MP Efficiency is back!
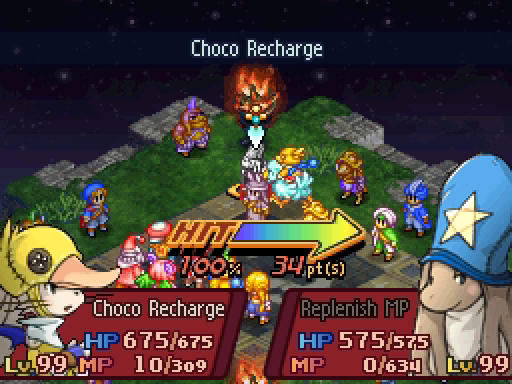
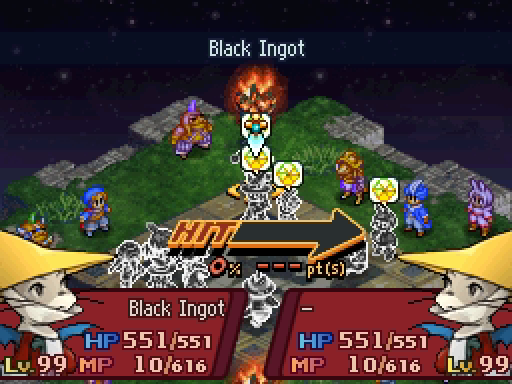
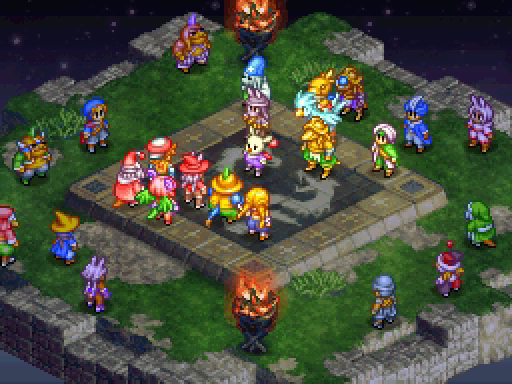
Even the Most Powerful Clan only uses a Chocobo Knight for its MP restoring ability. (Though he does have Ultima Charge, too.)
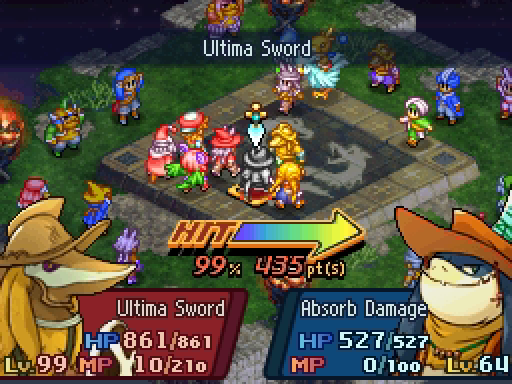
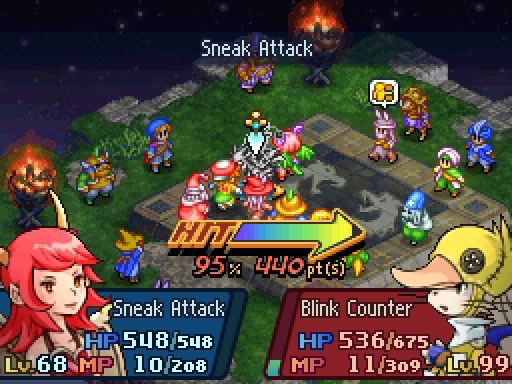
The Gladiator is surprisingly deadly. Also, he has Blood Price. He's the only bangaa in the game who does. No one else can learn it.
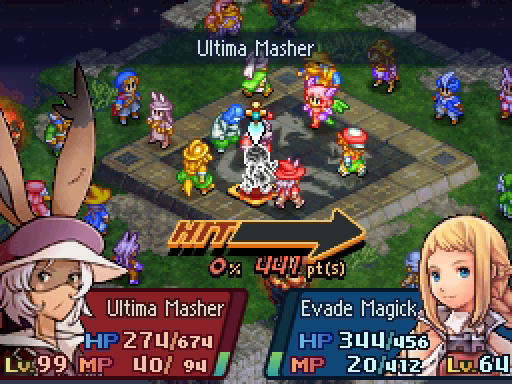
The Sniper is the deadliest unit, as she has very powerful ranged attacks and can cast Ultima Masher from across the arena.
In a close third is the Time Mage, who has Hastega.
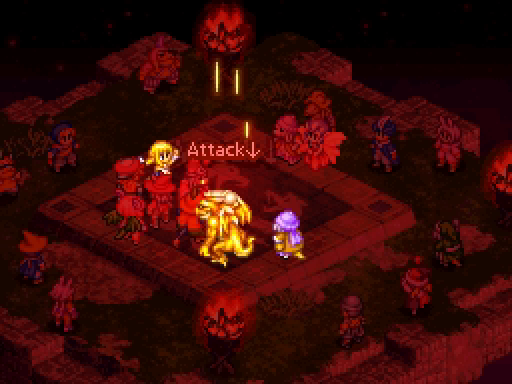
Thanks to Hastega, he soon can quicken the Gladiator, who kills Tsing.
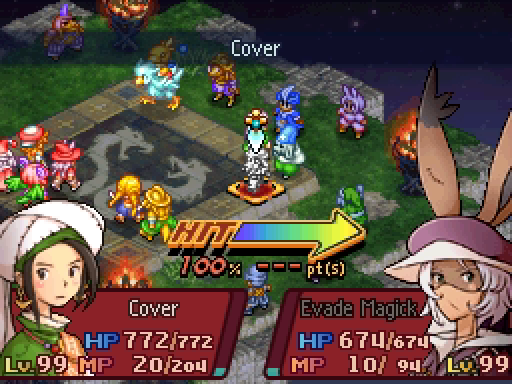
The Paladin is more annoying than anything, he stops you from killing whoever he's protecting.
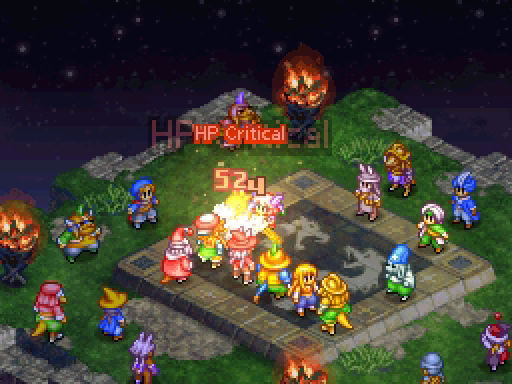
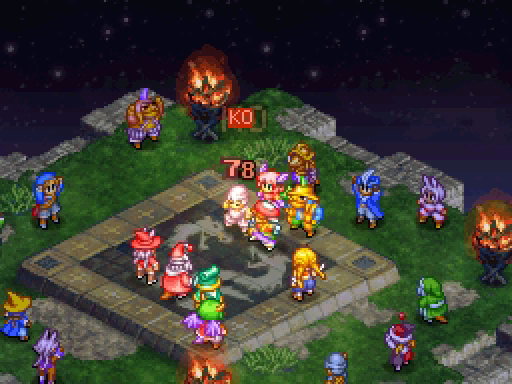
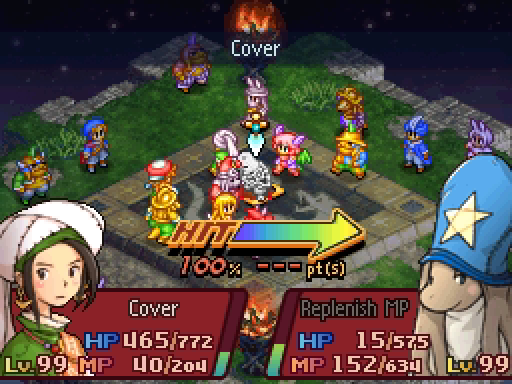
For example, we knock the Chocobo Knight down to 12 HP.
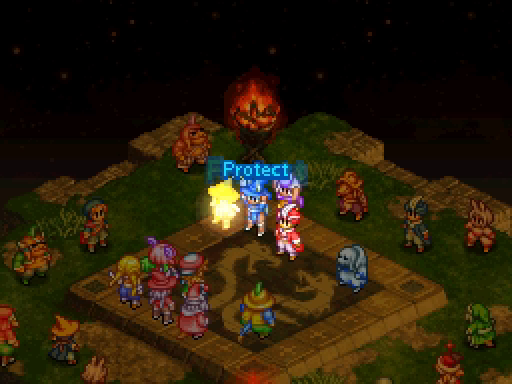
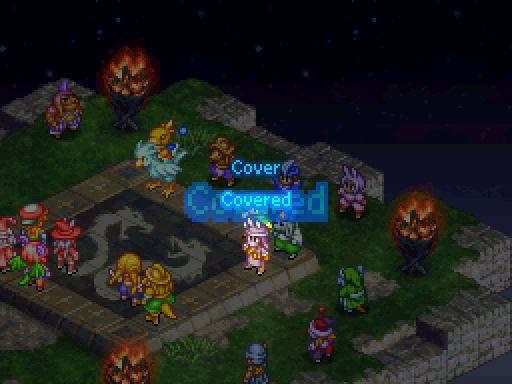
But the Paladin covers him.
But since Covered is a buff, it's not a problem for long! This also strips away all the Haste the Time Mage had thrown around.
You may remember in one of our earlier Brightmoon Tor runs, Lenolia accidentally revived an enemy by killing it and casting Phoenix. I instead use Unicorn, a lesser healing ability, to avoid reviving the Chocobo Knight.
Time to go on the offensive.
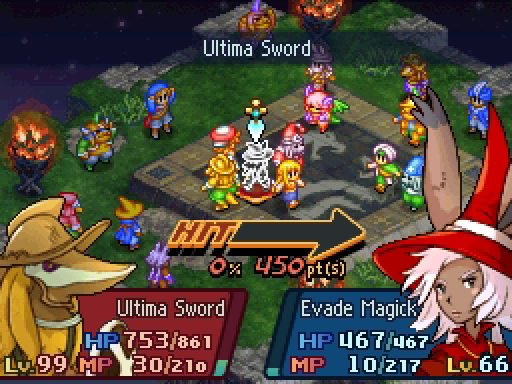
Hilariously, Ultima counts as a spell, so the half of our team with Evade Magick is perfectly safe.
I seriously need to kill you next.

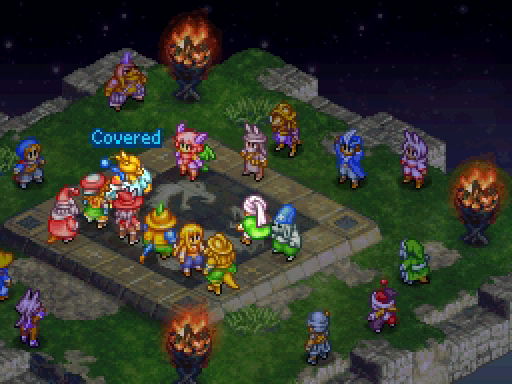
Yes, that helps a lot. Of course, the Hasted Paladin is immediately able to cover him.

Another reason the Sniper is scary: she has some serious Evasion.
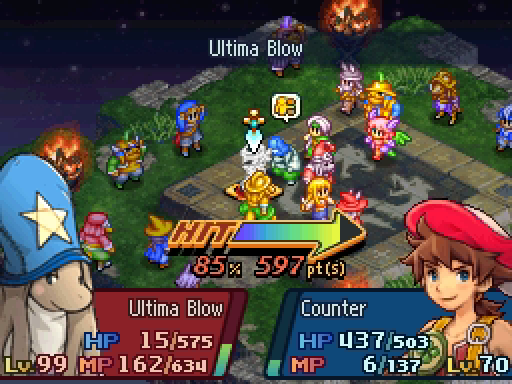
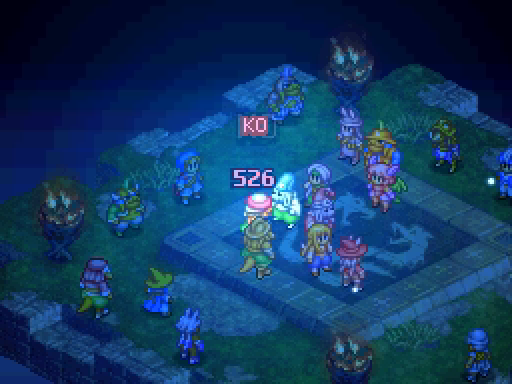
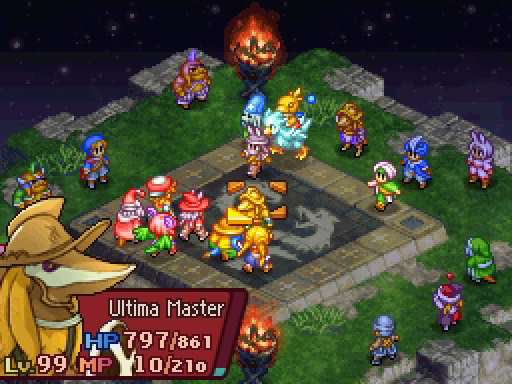
Exhibit A of why nu mou are the best Ultima users. All that Magick Power packs a hell of a punch.
The Paladin covers the Time Mage again (it expires after 1 turn), Penelo revives Samuel, Samuel strips away all the buffs.
Bless Evade Magick, seriously.
Of course, that does not stop their very potent physical attacks.

Sometimes the best solution to a magickal problem is a mace to the face.
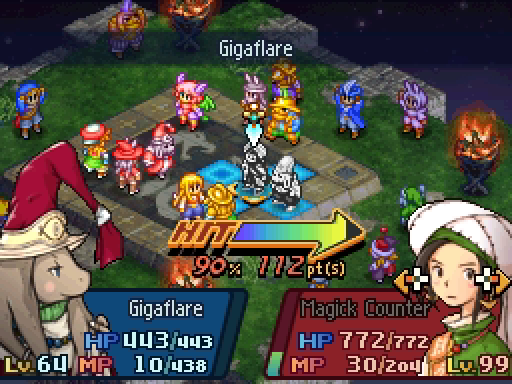
The Paladin is spending all his turns covering for his teammates, basically rendering him useless. They'd be better off trying to Ultima us all down. Zoe and Tsing weaken the Sniper and Paladin, respectively.
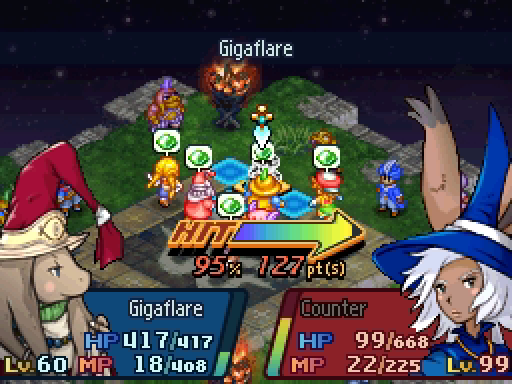
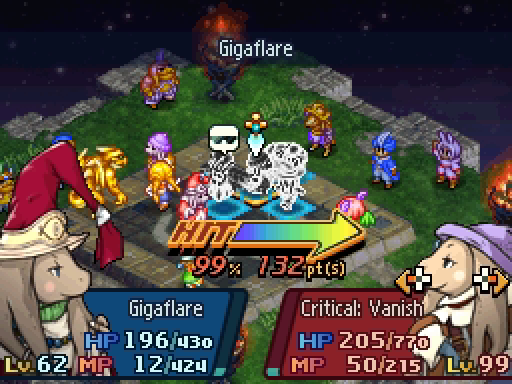
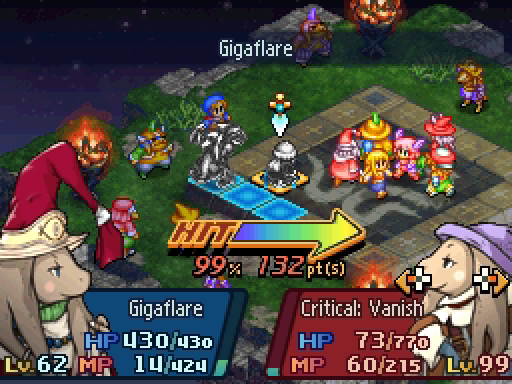
Talf finally takes the Paladin down with Gigaflare. The Sniper also has Evade Magick, annoyingly.
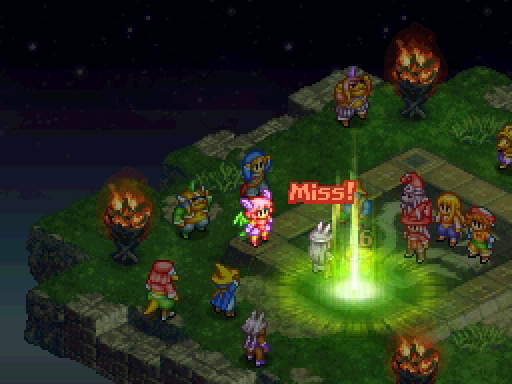
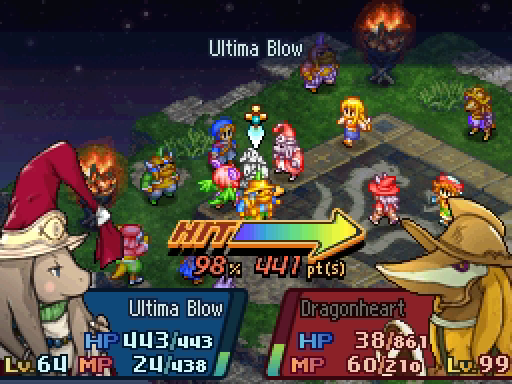
Zoe tries to finish her off with Blast Wave, but it misses and activates the Gladiator's Dragonheart, granting him Reraise.
Fortunately, that R-Ability can only activate once per life, and we have Roar.
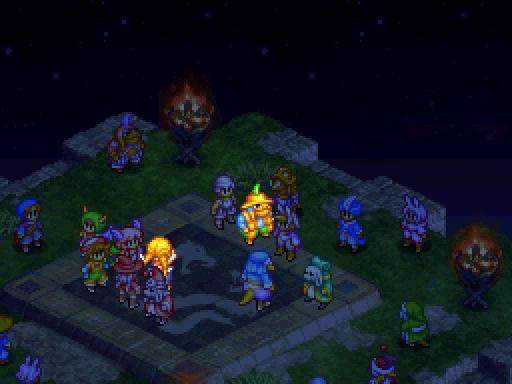
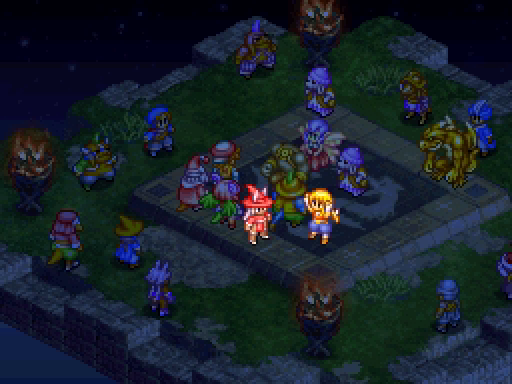
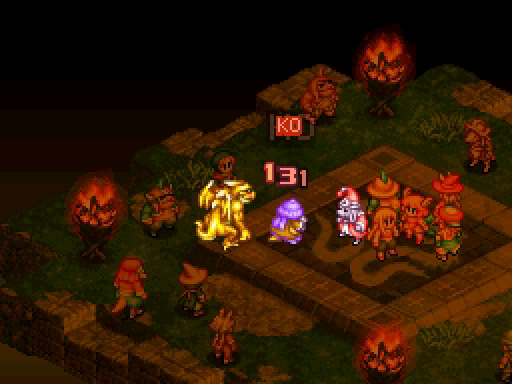
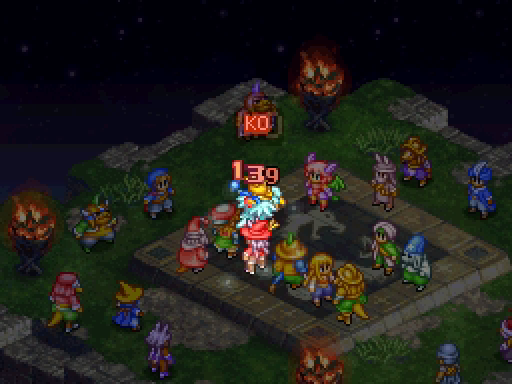
Begone!
We banish thee!
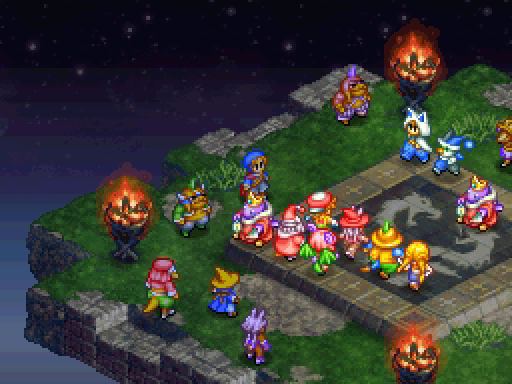
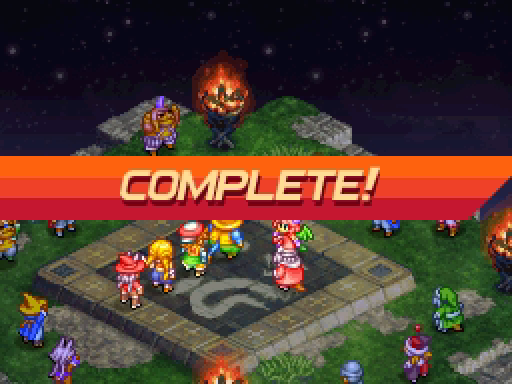
And thus it is over.
Our reward for struggling through these five difficult battles?
Nothing. The screen fades and wipes directly into the credits.
Not even the credits with the ending scenes we saw in update 37. You're dumped right back to the title screen.

You do not get to save, and if you load the file, you're back to your last save point before you started the Final Quest.
---
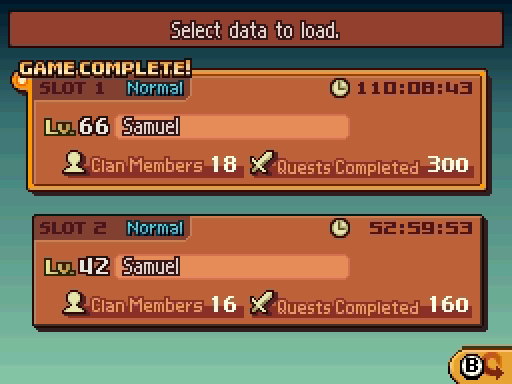
That's it. We're done. All quests completed. All the battles won. All the sights of Ivalice seen, all the secrets found, all the auction houses dominated.
[OST] The End of the Story
Sure, we could go back and fight Illua one more time. But I think we had our closure in Update 37, when we defeated her, banished the Neukhia, and closed the rift.

Samuel went home. Who knows what adventures filled his life after Ivalice!
I like to think Adelle stayed with the clan, until her Heritage caused her to wander the world again. But she knew she always had a place with Clan Sawyer. Cid led the clan after Samuel left, watching his new family grow. The rest of the clan -- Talf, Lenolia, Henri and everyone else -- went on more adventures, grew stronger, made new friends, and discovered new treasures. Maybe they eventually retired, or created clans of their own.
Hurdy would write many songs about Samuel and his time with Clan Sawyer. One day he and Montblanc left to join their brother to explore Ivalice on their own.
Vaan and Penelo undoubtedly left shortly after Samuel did, to finally return to their life of piracy. Al-Cid continued his journey across Ivalice, doing whatever it is an Agent does.
I hope over the course of this Let's Play I was able to show you how much I love this game and how much there is to love in this game. Maybe this LP will guide you through your own journeys across Ivalice. Or maybe, like me, you feel it's time to close this story and say farewell to Samuel Clemens and Clan Sawyer.
To everyone who read this LP, participated in this thread and voted on which quests to undertake, I would like to say, one last time:
Thank you for reading.